

Summary
- Common causes of the “Word Cannot Open Document” error include file corruption, incompatible software, and incorrect file permissions.
- Quick solutions include opening Word in Safe Mode, checking for updates, opening the document in another program, copying the content to a new document, or using a file repair tool.
- Repair strategies for corrupted Word files include using the built-in repair tool, opening the file in Safe Mode, or using a third-party file repair tool.
- Adjusting permissions for Word document accessibility can be done by right-clicking on the document, going to “Properties”, adjusting the permissions under the “Security” tab, and checking the “Full Control” option.
Are you experiencing the frustrating “Word Cannot Open Document Error”? Here are some effective solutions to fix this issue and get back to working on your important documents.
Common Causes of Access Issues with Word Files
File corruption: If the Word file is corrupted, it may not open properly. You can try to repair the file using the built-in repair tool in Microsoft Word or use a third-party file repair tool.
Incompatible software: Some software or plug-ins may conflict with Microsoft Word, causing access issues with Word files. Try disabling any recently installed software or plug-ins to see if that resolves the issue.
Incorrect file permissions: If the file permissions are set incorrectly, you may not have the necessary access to open the Word file. Check the file permissions and make sure you have the appropriate access to the file.
In addition to these common causes, it’s also important to ensure that your Microsoft Word software is up to date. Updating to the latest version of Word can often fix access issues with Word files.
If you are still unable to open the Word document after addressing these common causes, it may be worth seeking assistance from Microsoft support or a professional IT technician. They can help diagnose and resolve more complex issues that may be causing the access problem.
Quick Solutions for Unresponsive Word Documents
- Use Safe Mode to Open Word
- Check for Updates
- Open the Document in Another Program
- Copy the Content to a New Document
- Use a File Repair Tool
Repair Strategies for Corrupted Word Files
If you encounter an error message that says “Word cannot open document,” it’s likely that your Word file has become corrupted. Fortunately, there are several strategies you can try to repair the file and retrieve your valuable documents.
Use the built-in repair tool: Microsoft Word has a built-in feature that can attempt to repair corrupted files. To use this tool, open Word and go to File > Open. Then, select the corrupted file and click on the drop-down arrow next to the Open button. Choose “Open and Repair” from the menu that appears.
Try opening the file in Safe Mode: Sometimes, third-party add-ins or plugins can cause file corruption. To rule this out, try opening the file in Word’s Safe Mode. To do this, hold down the Ctrl key and double-click on the file. If the file opens successfully in Safe Mode, you may need to uninstall any recently installed add-ins or plugins.
Use a third-party file repair tool: There are several third-party software programs available that specialize in repairing corrupted Word files. These tools can often fix issues that Word’s built-in repair tool can’t. Look for reputable freeware or paid options and follow the instructions provided by the software.
Discount Offer for Professional Repair Tools
If you’re experiencing the “Word Cannot Open Document” error, it may be time to invest in professional repair tools to fix the issue. Luckily, we have a discount offer available for you to take advantage of.
Whether you’re dealing with a corrupted file or a compatibility issue, professional repair tools can help resolve the problem and get your Word documents back up and running.
Take advantage of our discount offer on professional repair tools to quickly and effectively resolve the “Word Cannot Open Document” error.
These tools are designed specifically for repairing and recovering corrupted Word documents, so you can trust that they’ll deliver the results you need.
With our discount offer, you can save money while getting access to top-quality repair tools that will help you troubleshoot and fix the issue without any hassle.
Don’t let the “Word Cannot Open Document” error continue to cause frustration – invest in professional repair tools today and get back to working with your Word documents seamlessly.
Remember, the sooner you address the issue, the sooner you can get back to using Word without any disruptions. Don’t miss out on this opportunity to save on professional repair tools that can make a real difference in resolving the error.
So don’t hesitate to take advantage of this discount offer and get your hands on the professional repair tools you need to fix the “Word Cannot Open Document” error once and for all.
Permission Adjustments for Word Document Accessibility
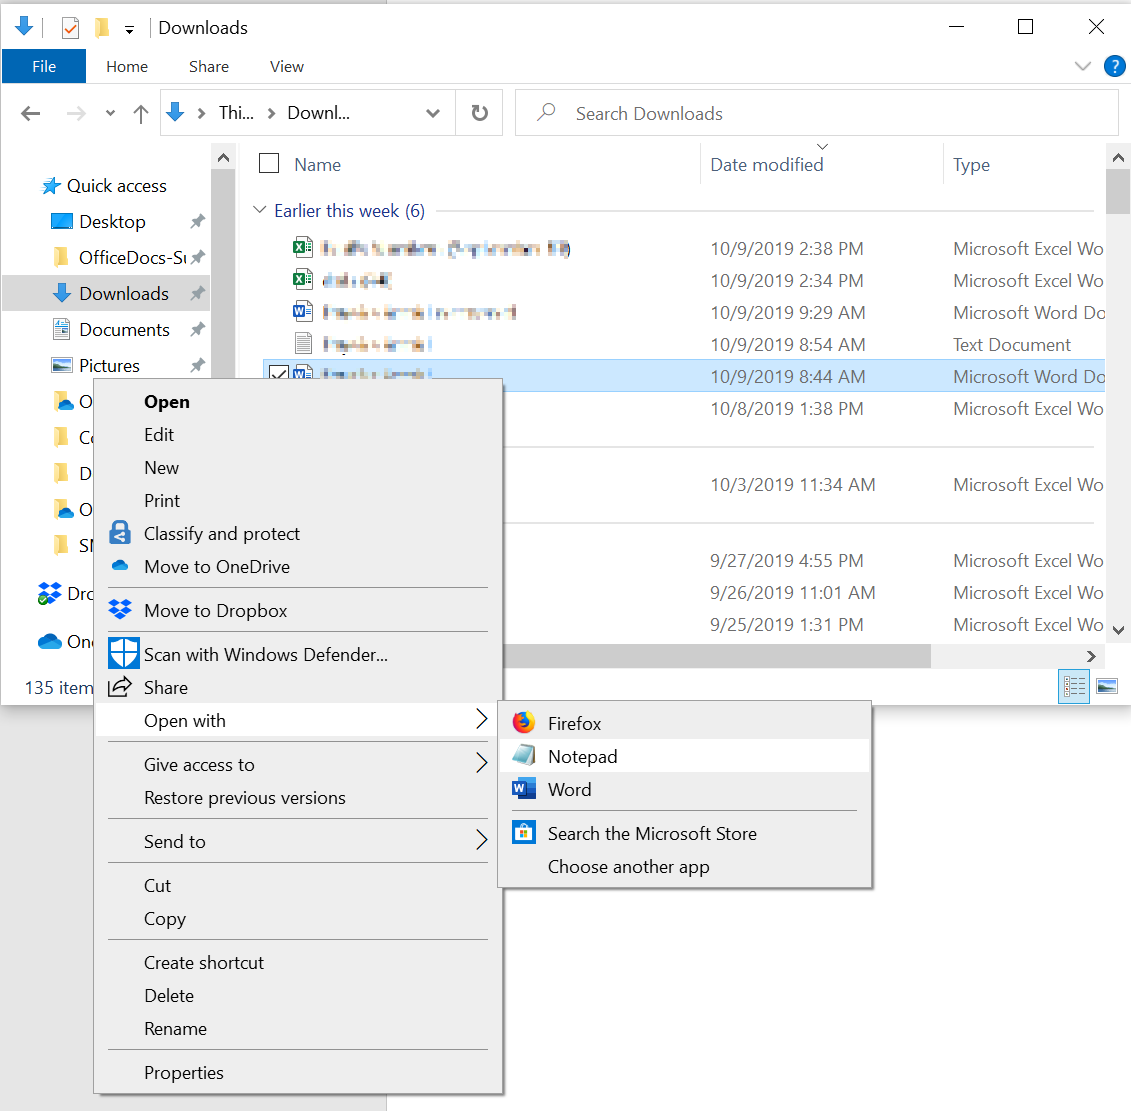
To adjust permissions for Word document accessibility, you can start by right-clicking on the document and selecting “Properties” from the context menu. Then, go to the “Security” tab and click on “Edit” to adjust the permissions for the document.
Next, you can check the “Full Control” option for your user account to ensure that you have the necessary permissions to open and access the document.
If you are still unable to open the document, you can try copying the file to a different location on your computer, such as the desktop, and then attempt to open it from there.
If the document is stored in a location that requires administrative permissions, you may need to contact your system administrator to adjust the permissions for the file.
It’s also a good idea to check if the document is password-protected, as this could be causing the error. If it is password-protected, you will need to enter the correct password to open the document.
Additionally, make sure that the file format is compatible with your version of Microsoft Word. If the document is in a newer format such as DOCX, and you are using an older version of Word, you may need to use a file converter to open it.
Repair and Recovery Options for Various Office Versions
| Office Version | Repair Option | Recovery Option |
|---|---|---|
| Office 365 | Online Repair Tool | Restore from AutoRecover |
| Office 2019 | Quick Repair or Online Repair | Recover Unsaved Documents |
| Office 2016 | Quick Repair or Online Repair | Recover Unsaved Documents |
| Office 2013 | Quick Repair or Online Repair | Recover Unsaved Documents |
| Office 2010 | Repair from Control Panel | Recover Unsaved Documents |
F.A.Qs
How do I fix Microsoft Word unable to read this document?
To fix Microsoft Word unable to read this document, you can go to the ‘File’ menu, click ‘Open’, and select the file you want to open. Instead of double-clicking the file, click the small arrow next to ‘Open’ and select the ‘Open and Repair’ option.
Why does it say Word Cannot open the document user does not have access privileges?
The error message “Word Cannot open the document user does not have access privileges” appears when you do not have the necessary permission to read or edit the document. This can happen even if you actually do have access to the file. Common reasons for this error include transferring files between computers.
How do I fix a Word document that wont open?
To fix a Word document that won’t open, you can try disabling Protected View in the Trust Center settings of Microsoft Word. This can be done by launching Word, clicking on “File”, selecting “Options”, navigating to “Trust Center”, and then unchecking everything under “Protected View” before clicking “Ok”.