Summary
- Check physical connections and ensure microphone is properly plugged in and turned on.
- Update the driver by downloading the latest version from the Blue Yeti or manufacturer’s website.
- Restart your computer and verify microphone settings in the sound settings menu.
- Test the microphone on another device to determine if the issue is with the microphone or computer settings.
Welcome to the comprehensive guide for setting up the Blue Yeti USB microphone driver.
Troubleshooting Detection Problems
If you are experiencing detection problems with your Blue Yeti USB microphone, follow these troubleshooting steps:
1. Check the physical connections: Ensure that the microphone is properly plugged into the USB port of your computer. Also, make sure that the microphone is turned on and the volume is set to an appropriate level.
2. Update the driver: Outdated or incompatible drivers can cause detection issues. Visit the official website of Blue Yeti or the manufacturer’s website to download and install the latest driver for your microphone.
3. Restart your computer: Sometimes, a simple restart can fix detection problems. Close any applications that are using the microphone, save your work, and restart your computer. After the restart, check if the microphone is detected.
4. Verify microphone settings: Open the sound settings on your computer and ensure that the Blue Yeti microphone is selected as the default input device. Adjust the microphone settings as needed.
5. Test the microphone on another device: To determine if the issue is with the microphone or your computer, try connecting the Blue Yeti to another computer or device. If it is detected and works properly, the problem may lie with your computer’s settings or USB ports.
6. Disable conflicting applications: Certain applications or browser extensions can interfere with the detection of USB devices. Temporarily disable any antivirus software, firewall, or browser extensions and check if the microphone is now detected.
7. Clear browser cache and cookies: If you are using the Blue Yeti microphone for web-based applications, clearing your browser cache and cookies can sometimes resolve detection issues. Refer to your browser’s settings to clear the cache and cookies.
8. Check for software conflicts: Some software programs or plugins may conflict with the Blue Yeti microphone driver. Temporarily uninstall any recently installed software or plugins, restart your computer, and check if the microphone is now detected.
If none of the above steps resolve the detection problems, consider contacting Blue Yeti support or the manufacturer for further assistance.
Uninstall and Reinstall Techniques
Uninstalling and reinstalling the Blue Yeti USB microphone driver is a simple process that can help troubleshoot any issues you may be experiencing. Follow these steps to ensure a successful uninstall and reinstall:
1. Begin by disconnecting the Blue Yeti microphone from your computer.
2. Open the Control Panel on your computer by clicking the Start menu and selecting Control Panel.
3. In the Control Panel, locate and click on “Programs” or “Programs and Features.”
4. Look for the Blue Yeti USB microphone driver in the list of installed programs. Right-click on the driver and select “Uninstall” or “Remove.”
5. Follow the on-screen prompts to complete the uninstallation process. Be sure to restart your computer once the uninstallation is finished.
6. After your computer has restarted, connect your Blue Yeti microphone to the USB port.
7. Open your web browser and navigate to the official Blue Yeti website.
8. Look for the “Downloads” or “Support” section on the website. Find the latest version of the Blue Yeti USB microphone driver and click on it to download.
9. Once the driver has finished downloading, locate the file and double-click on it to start the installation process.
10. Follow the on-screen prompts to install the Blue Yeti USB microphone driver. Make sure to read and accept any terms and conditions if prompted.
11. Once the installation is complete, restart your computer to ensure the driver is properly installed and ready to use.
12. After your computer has restarted, open your preferred recording software or communication application.
13. Select the Blue Yeti USB microphone as the input device in the settings menu of your software or application.
14. Test the microphone to ensure it is working correctly. Speak into the microphone and check if the audio levels are registering.
Updating Drivers: A How-To
Updating the drivers for your Blue Yeti USB microphone is a crucial step to ensure optimal performance. Follow the simple steps below to update your drivers and get the most out of your microphone.
1. Start by opening your web browser and navigating to the official Blue Yeti website. Look for the “Support” or “Downloads” section.
2. In the support or downloads section, locate the driver download for your specific Blue Yeti microphone model. Click on the download link to begin the process.
3. Once the driver file has finished downloading, locate the file on your computer and double-click on it to start the installation process.
4. Follow the on-screen instructions provided by the driver installer. In most cases, you will simply need to click “Next” or “Install” to proceed with the installation.
5. After the installation is complete, restart your computer to ensure that the new drivers are properly loaded.
6. Once your computer has restarted, connect your Blue Yeti USB microphone to your computer using the provided USB cable. Make sure the microphone is powered on.
7. Your computer should automatically recognize the newly installed drivers and configure the microphone accordingly. If prompted, follow any additional on-screen instructions to complete the setup.
8. To test if the drivers have been successfully updated, open a recording or streaming application of your choice. Check if the Blue Yeti microphone is listed as an available audio input device.
9. If the microphone is detected and working properly, congratulations! You have successfully updated your Blue Yeti USB microphone drivers.
10. If you encounter any issues during the driver installation or setup process, consult the troubleshooting section of the Blue Yeti website or contact their customer support for further assistance.
Remember, keeping your drivers up to date is essential for ensuring the best performance and compatibility with your Blue Yeti USB microphone. By following these simple steps, you can easily update your drivers and enjoy high-quality audio recording and streaming experiences.
Note: If you are using a different brand or model of microphone, the driver update process may vary. Refer to the manufacturer’s website or documentation for specific instructions.
Ensuring Smooth Operation
- Check for driver updates
- Open your web browser
- Navigate to the Blue Yeti USB microphone manufacturer’s website
- Locate the “Support” or “Downloads” section
- Search for the latest driver for your specific microphone model
- Download and install the driver
- Adjust microphone settings
- Right-click on the speaker icon in the system tray
- Select “Recording devices” from the context menu
- Locate your Blue Yeti USB microphone in the list
- Right-click on it and choose “Properties”
- Go to the “Levels” tab
- Ensure the microphone volume is set to an appropriate level
- Adjust the microphone boost if necessary
- Click “OK” to save the changes

- Check USB connection
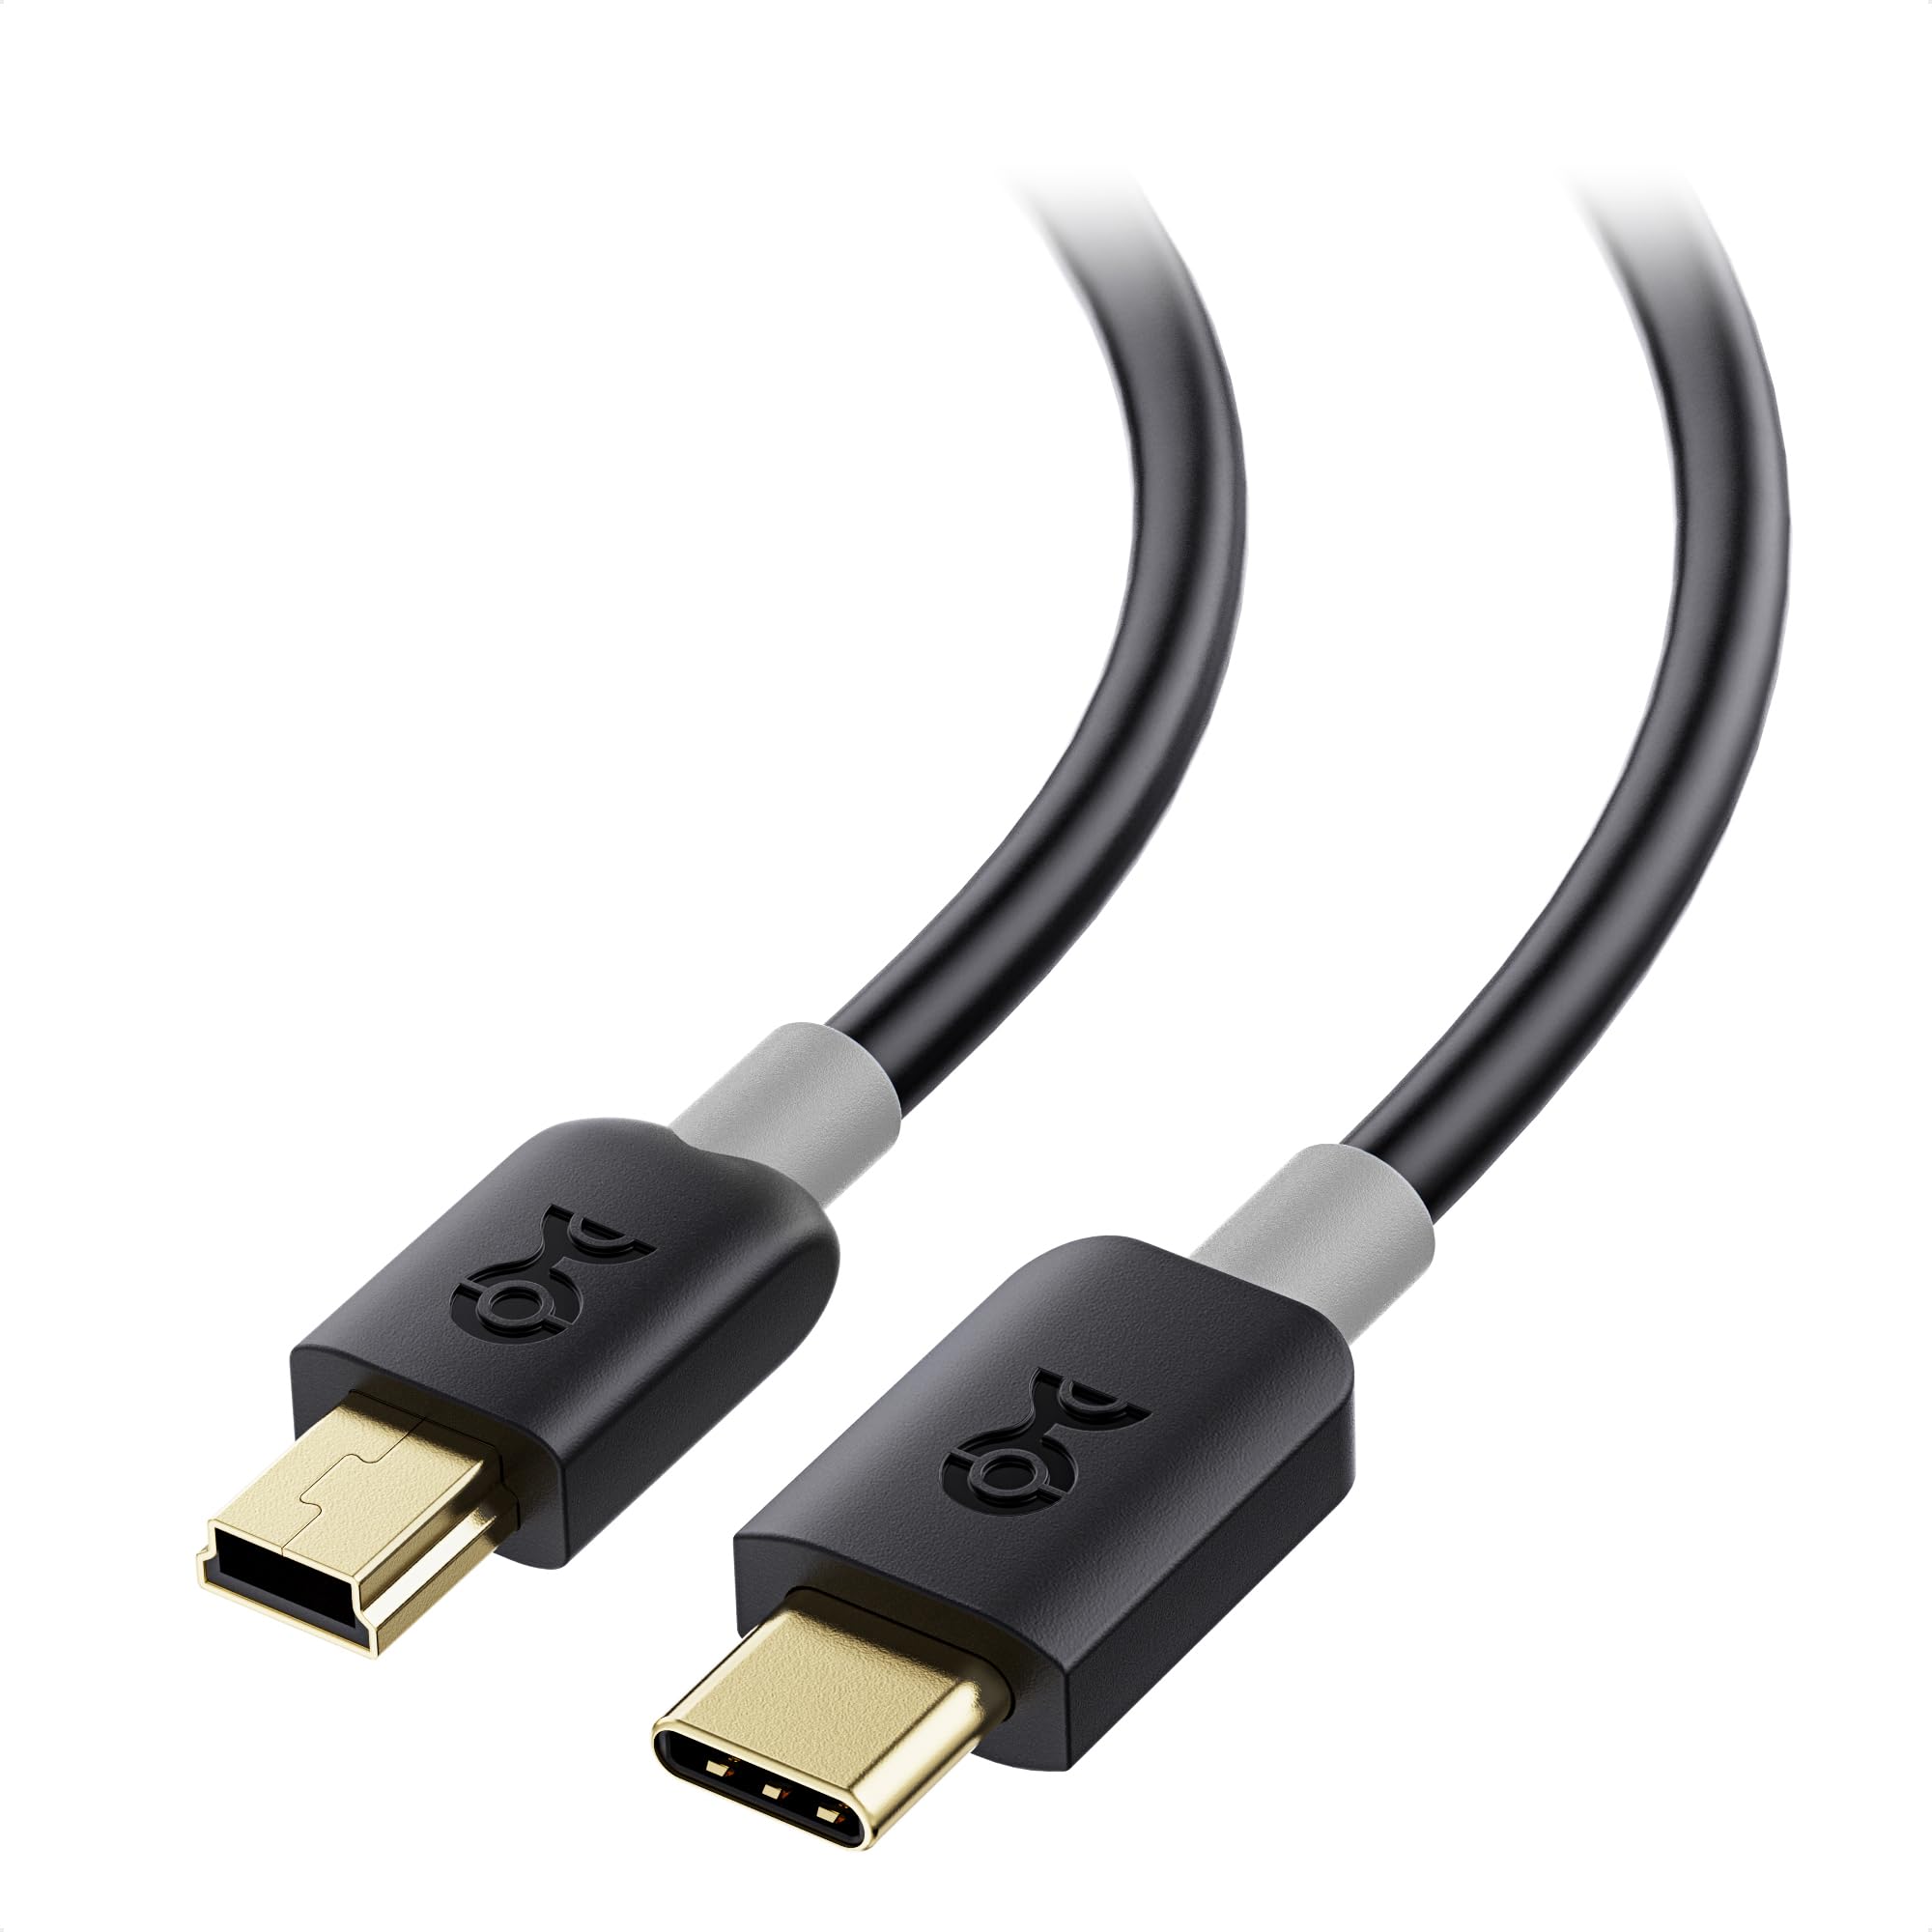
- Inspect the USB cable for any visible damage
- Ensure the cable is securely plugged into both the microphone and the computer

- Try using a different USB port on your computer
- Test the microphone with another USB cable if available
- Scan for malware or conflicting software
- Open your antivirus software
- Perform a full system scan to check for malware
- If any threats are detected, follow the recommended actions to remove them
- Check for any software that may interfere with the microphone’s operation
- Uninstall or disable any conflicting software
FAQs
Does Blue Yeti mic have drivers?
Yes, the Blue Yeti mic requires drivers to be installed for PC users using the Yeti Pro model, but Mac users do not need any additional drivers as the Yeti Pro is class-compliant on Mac.
Why is my Blue Yeti USB device not recognized?
Your Blue Yeti USB device may not be recognized because it only works on a USB 2.0 port and not on USB 3.0. Try connecting it to another PC to see if that helps, and also check the integrity of the cable by changing it and verifying both ends.
Does the Blue Yeti have software?
Yes, the Blue Yeti requires the download and installation of the free G HUB software.
How do I update my Yeti microphone driver?
To update your Yeti microphone driver, you can follow these steps:
1. Press the Windows key and R key together to open the Run dialog.
2. Type devmgmt and hit Enter.
3. In the Device Manager window, locate and expand the Sound, video and game controllers category.
4. Find the Blue Yeti driver in the list and right-click on it.
5. Select Update driver to proceed.

