Summary
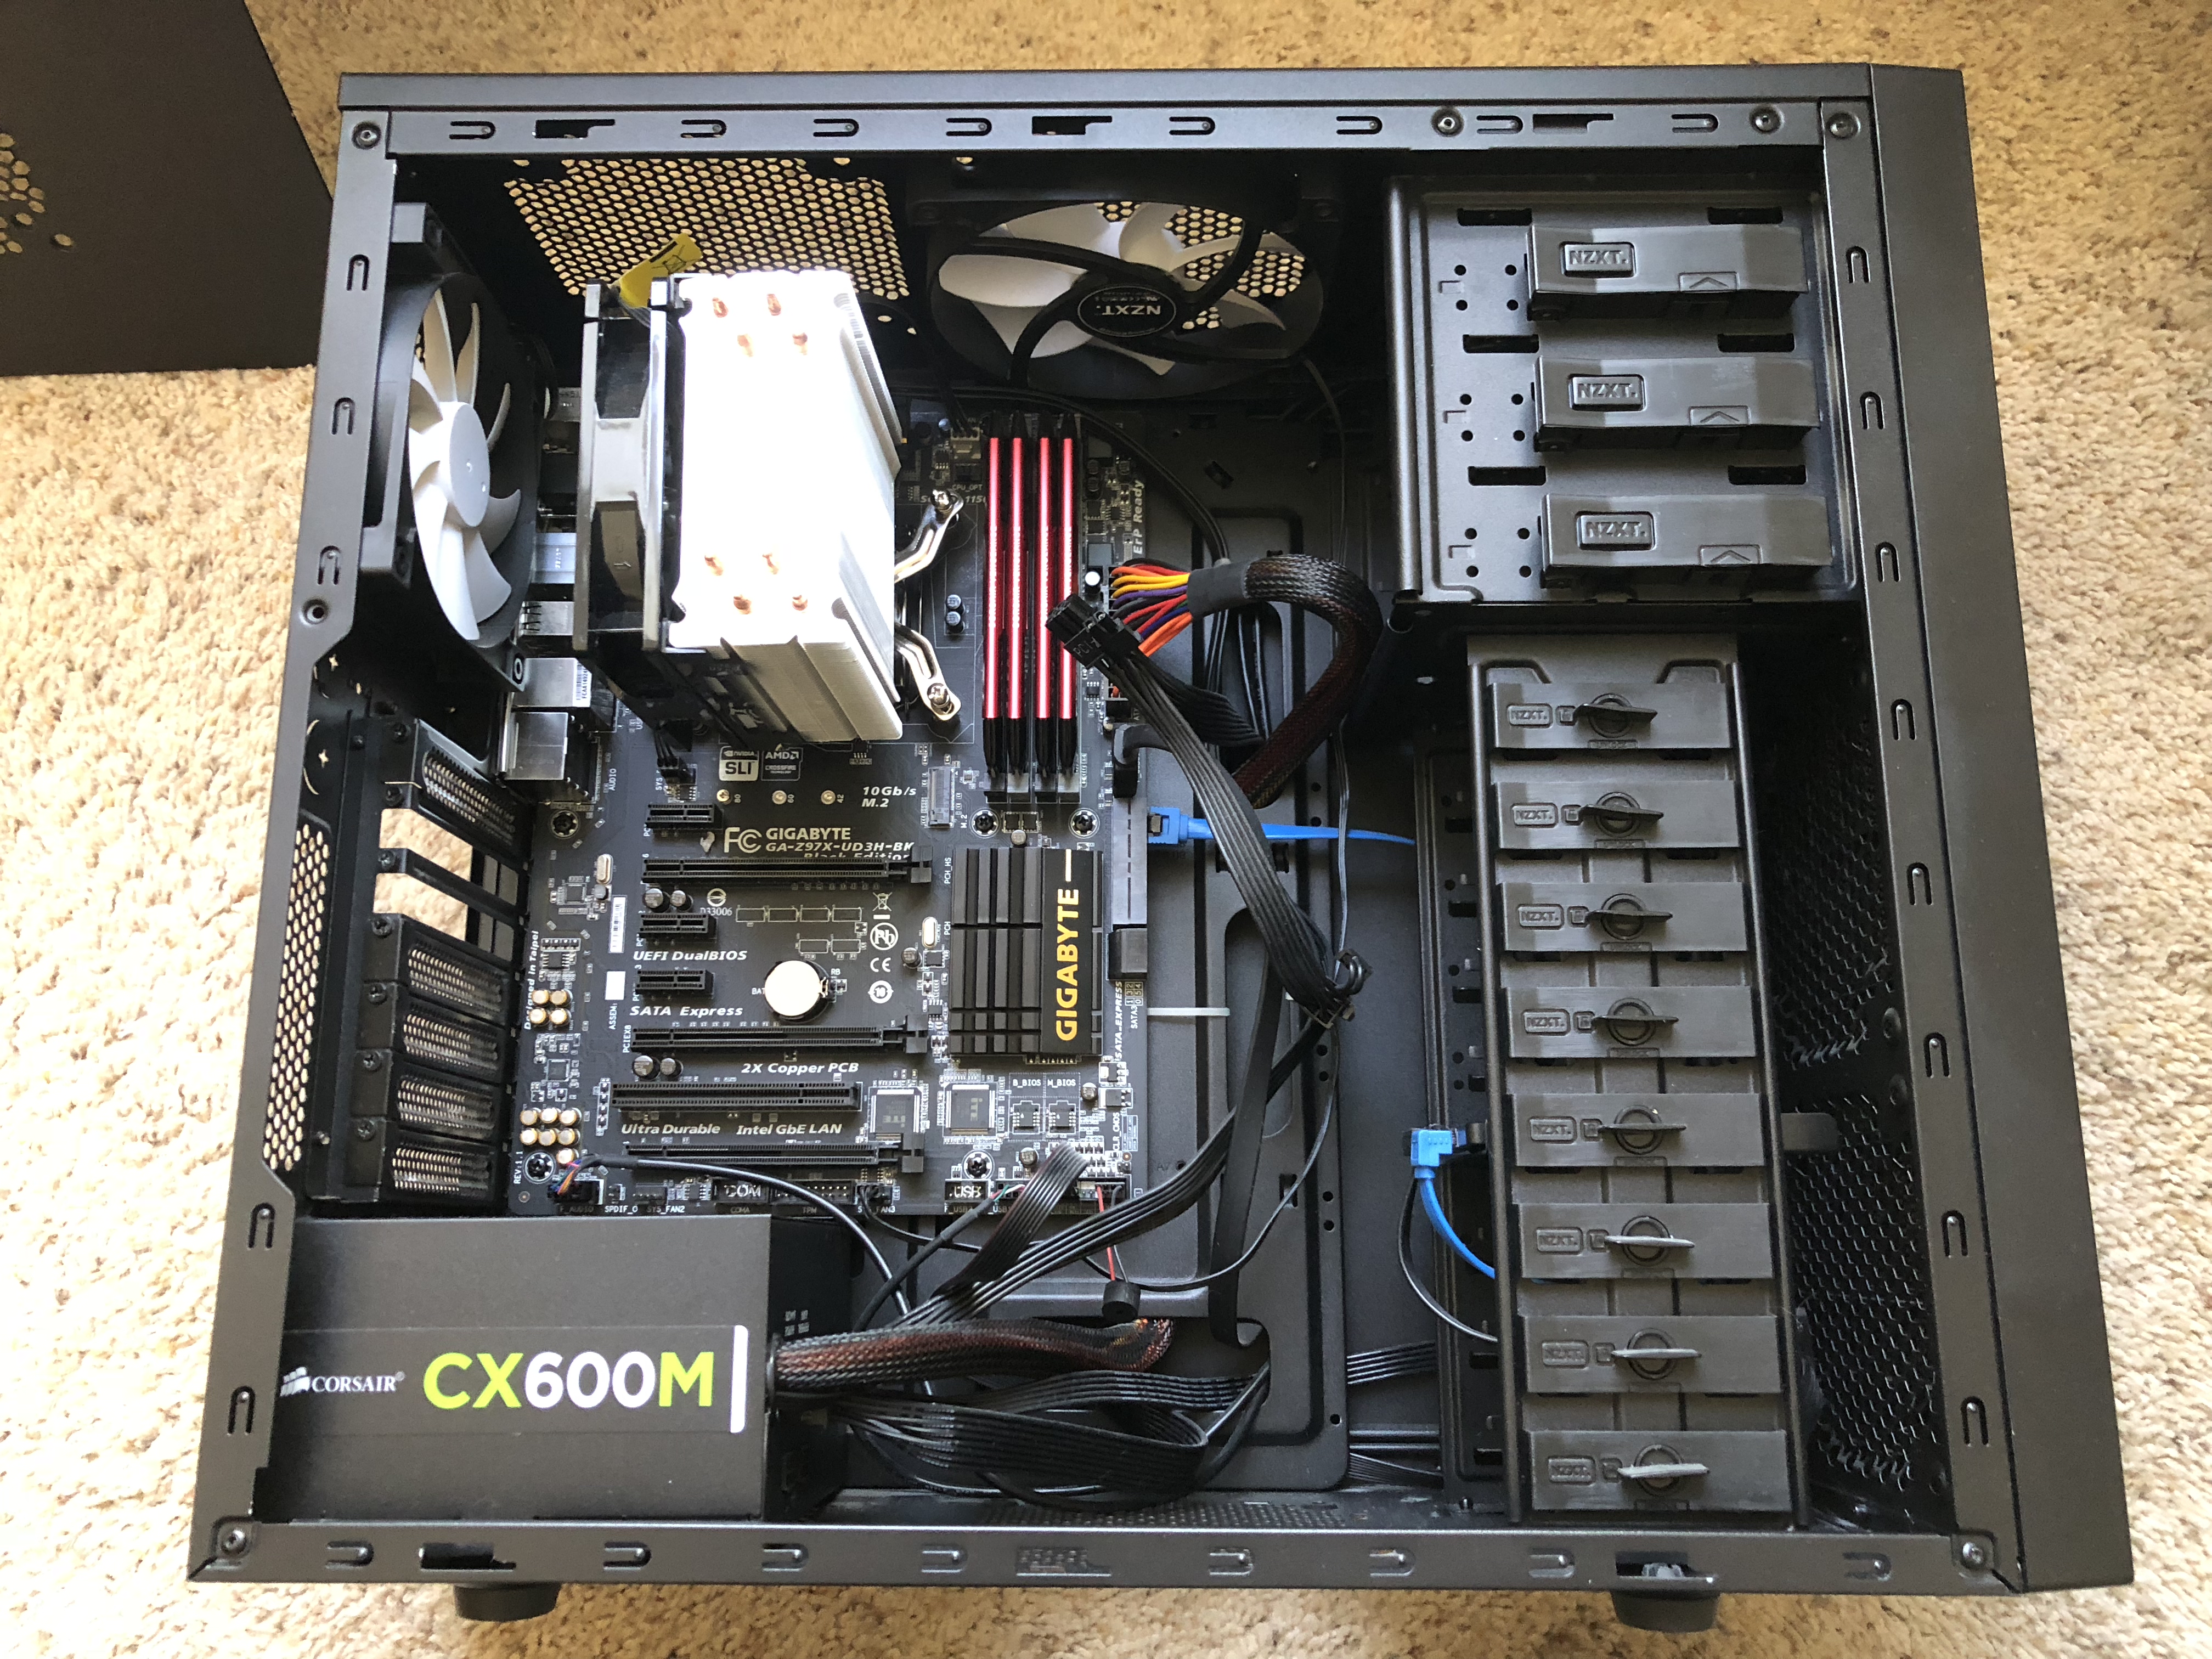
- Check all power connections to the CPU to ensure they are secure and properly connected.
- Reset the BIOS settings by removing the CMOS battery from the motherboard or clearing the CMOS using the jumper.
- Reseat the processor by carefully removing it from the socket, inspecting for any bent pins, cleaning any dust or debris, and then placing it back into the socket.
- Update or flash the BIOS by downloading the latest update from the manufacturer’s website, copying it onto a USB flash drive, entering the BIOS during boot, selecting the update file, and following the on-screen instructions.
Are you experiencing a PC CPU not detected issue? In this article, we will discuss the EZDebug LED solution for troubleshooting and solving this problem in 2023.
Resetting BIOS Settings
To reset the BIOS settings, shut down the computer, unplug it, remove the CMOS battery from the motherboard for a few seconds, and then reinsert it. If that doesn’t work, consult the motherboard manual for instructions on clearing the CMOS using the jumper. If the CPU is still not detected, consider updating the BIOS from the manufacturer’s website and seeking further assistance if needed.
Reseating the Processor

To reseat the processor, first, make sure to power off the computer and disconnect all cables. Open the CPU socket and carefully remove the processor. Inspect for any bent pins and clean any dust or debris.
Next, reseat the processor by carefully placing it back into the socket, ensuring it is properly aligned. Close the CPU socket and secure it in place. Reconnect all cables and power on the computer to see if the CPU is detected.
If the issue persists, consider checking the power supply unit, updating the BIOS, or testing with a different processor. Troubleshooting the CPU not being detected can be a process of elimination, so be patient and thorough in your approach.
Always handle the processor with care and be mindful of static electricity. If you are unsure, consult the manufacturer’s guidelines or seek assistance from a professional.
Updating or Flashing BIOS
To update or flash the BIOS, you can follow these steps:
1. Visit the manufacturer’s website and find the latest BIOS update for your specific motherboard model.
2. Download the BIOS update onto a USB flash drive formatted with a file system that is compatible with your motherboard.
3. Restart your PC and enter the BIOS by pressing the designated key (often Del or F2) during the boot process.
4. Find the option to update the BIOS and select the file from the USB flash drive.
5. Follow the on-screen instructions to complete the BIOS update process.
Make sure to carefully read and follow the manufacturer’s instructions to avoid any potential issues. After updating the BIOS, restart your PC and check if the CPU is now detected. If not, consider checking other components such as the power supply unit, CPU socket, and CPU itself for any potential issues.
Addressing CPU Fan Issues

- Clean the fan: Dust and dirt can build up on the CPU fan and cause it to malfunction. Use compressed air to clean out any debris.
- Check the connections: Make sure the fan is properly connected to the motherboard and that the power cable is secure.
- Update the BIOS: Sometimes a BIOS update can resolve issues with the CPU fan not being detected.
- Replace the fan: If the fan is old or damaged, it may need to be replaced with a new one.
- Monitor the temperature: Use software to monitor the CPU temperature and ensure that the fan is functioning properly to keep the CPU cool.
- Consult a professional: If the issue persists, it may be best to consult a professional technician for further assistance.

