

Summary
- Restart your computer and enter BIOS settings by pressing a specific key (such as F2 or Delete) during boot-up.
- Navigate to the “Advanced” or “Security” tab and look for the “Virtualization Technology” option.
- Enable VT-x by selecting it and changing the setting to Enabled.
- Save the changes, exit BIOS, and restart your computer to apply the settings.
In this guide, I will walk you through the step-by-step process of enabling VT-x in the BIOS of a Windows 10 computer.
Checking Virtualization Status
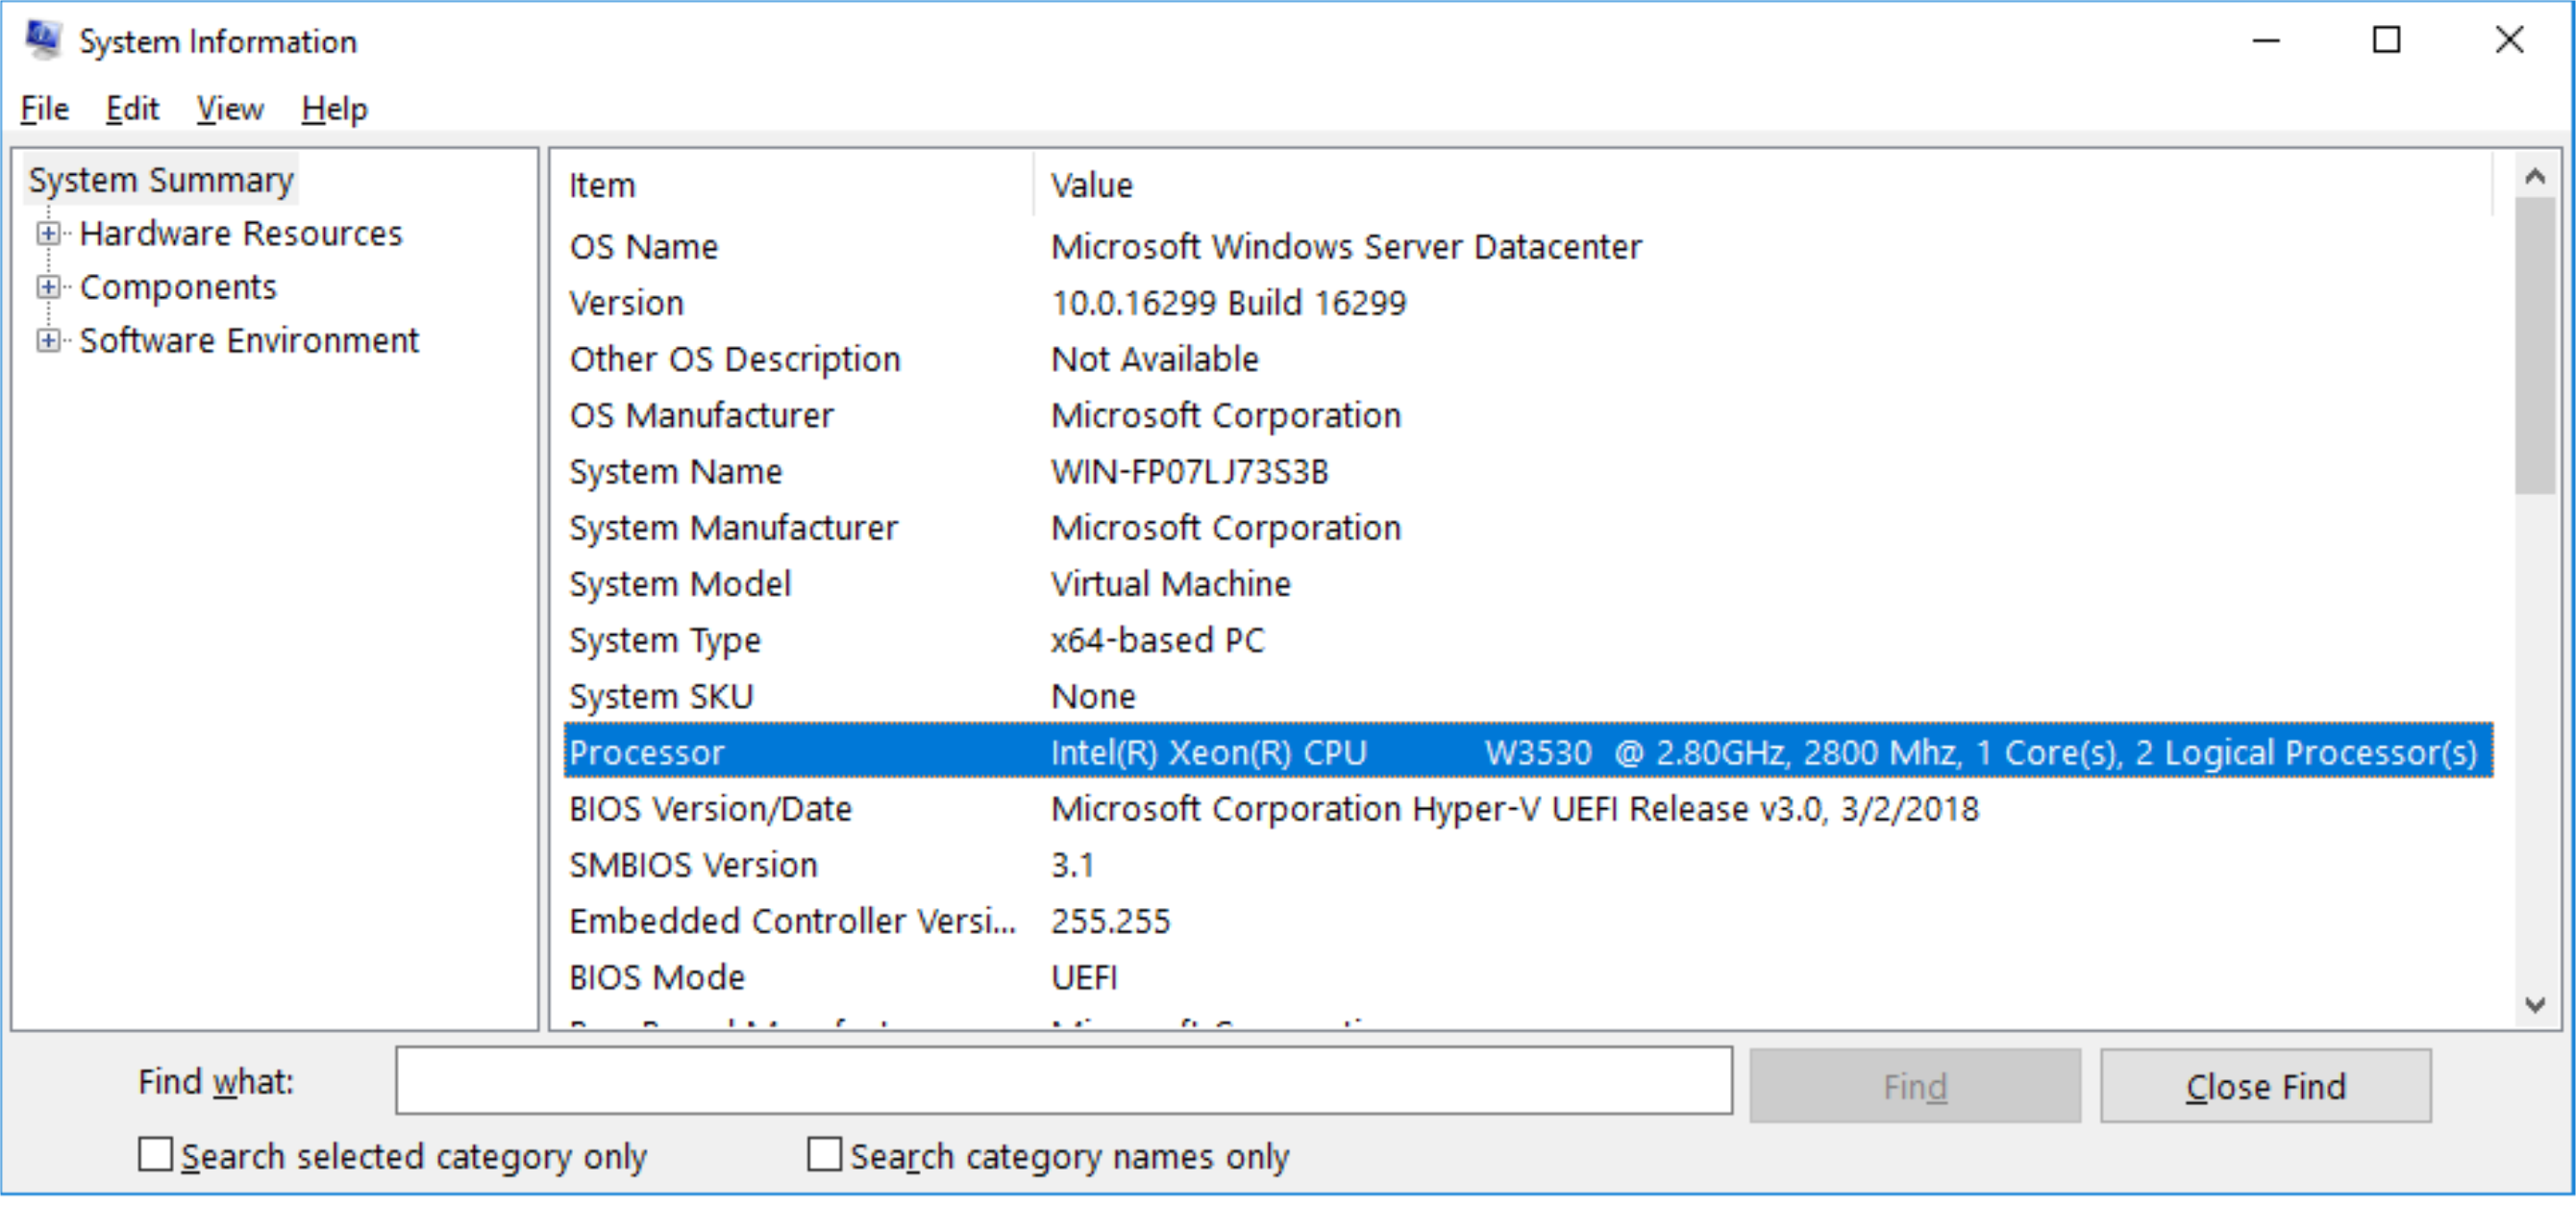
To check the virtualization status in Windows 10, you need to access the Task Manager. Press Ctrl + Shift + Esc to open Task Manager. Click on the “Performance” tab and select “CPU” from the left-hand side menu. Look for the “Virtualization” option. If it says “Enabled,” then virtualization is enabled on your system. If it says “Disabled,” you will need to enable VT-x in the BIOS.
To access the BIOS, restart your computer and press the Esc, Delete, or F2 key (depending on your computer’s manufacturer) during the boot process. Once in the BIOS, navigate to the “Advanced” or “Security” tab and look for the “Virtualization Technology” option. Enable it and save your changes before exiting the BIOS.
After enabling VT-x in the BIOS, restart your computer and check the Task Manager again to ensure that virtualization is now enabled. This is essential for running virtual machines and other virtualization software efficiently on your Windows 10 system.
Understanding Virtualization Benefits
Virtualization benefits include improved efficiency, scalability, and productivity for users. Enabling VT-x in Windows 10 BIOS allows for hardware virtualization support, essential for running virtual machines and cloud computing environments.
To enable VT-x in Windows 10 BIOS, first access the BIOS settings by restarting your computer and pressing the designated key (usually F2, F10, or Del) during boot-up. Navigate to the “Advanced” or “Configuration” tab in the BIOS menu.
Locate the “Virtualization Technology” or “Intel Virtualization Technology” option and enable it. Save changes and exit BIOS, then restart your computer to apply the settings.
By enabling VT-x in Windows 10 BIOS, you unlock the full potential of your computer’s hardware for tasks such as running virtual machines, deploying environments, and enhancing computer security through hardware acceleration.
Enabling Virtualization in BIOS
To enable VT-x in Windows 10 BIOS, start by restarting your computer. When the computer is booting up, press the Esc key or the corresponding key to enter the BIOS settings. Look for the virtualization option, it might be under a tab like “Advanced,” “Security,” or “System Configuration.” Once you find it, enable the option and save the changes before exiting the BIOS.
After enabling VT-x in the BIOS, you can check if it’s working properly by opening the Task Manager in Windows. Go to the Performance tab and click on CPU. If virtualization is enabled, you should see the Virtualization section with a “Enabled” status.
Enabling VT-x is crucial for running virtual machines efficiently, especially for tasks like cloud computing and software development. It also enhances computer security by creating a more secure environment for running virtualized applications. Make sure to follow these steps carefully to optimize your computer’s performance.
Enabling Virtualization in Settings
To enable VT-x in Windows 10 BIOS, start by accessing the BIOS settings during boot up. This is usually done by pressing a specific key, such as F2 or Delete, as your computer starts up. Once in the BIOS settings, look for the Virtualization option. This can typically be found under the Advanced settings tab. Enable the Virtualization option by selecting it and changing the setting to Enabled. Save your changes and exit the BIOS settings.
After enabling VT-x in the BIOS, you may need to restart your computer for the changes to take effect. Once your computer has restarted, you can now use hardware virtualization features for tasks such as running virtual machines or other virtualization software. This can improve the performance and efficiency of virtualized environments on your Windows 10 system.
Exploring Virtualization Uses
- Step 1: Restart your computer and enter the BIOS setup by pressing a specific key (usually DEL or F2) during the boot process.
- Step 2: Navigate to the “Advanced” or “Advanced Settings” tab using the arrow keys on your keyboard.
- Step 3: Look for an option called “System Configuration,” “Security,” or “Virtualization Technology” and select it.
- Step 4: Enable the VT-x or Virtualization Technology option by selecting it and changing the setting to Enabled.
- Step 5: Save the changes and exit the BIOS by pressing F10 and selecting “Yes” to confirm the changes.
- Step 6: Restart your computer to apply the changes and enable VT-x in Windows 10 BIOS.
FAQ
How do I enable VT-X in BIOS?
To enable VT-X in BIOS, start your computer and press the designated key (often F10) to enter BIOS. Navigate to the Security tab, then select Virtualization Technology (VTx) and choose Enabled using the arrow keys.
How do I know if Intel VT-X is enabled Windows 10?
To determine if Intel VT-X is enabled on Windows 10, you can check the Task Manager by pressing Ctrl + Shift + Esc keys, then navigate to the Performance tab and look under CPU for Virtualization information.
Why is there no virtualization option in BIOS?
There is no virtualization option in BIOS because some CPUs do not support it. Cheaper CPU models may lack the necessary instruction sets for virtualization, such as VT-x for Intel or SVM for AMD.
How do I enable virtualization in BIOS HP Windows 10?
To enable virtualization in BIOS on an HP Windows 10 computer, start by turning on the computer and pressing f10 to access BIOS Setup. Use the arrow keys to navigate to the Configuration tab, select Virtualization Technology, choose Enable, then press f10 to save the settings and exit BIOS Setup.