
Summary
- Check your administrator status in Windows by going to Control Panel > User Accounts
- Verify administrator privileges in Settings by going to Settings > Accounts > Your info
- Confirm admin rights using Command Prompt by typing “net user” and “net localgroup administrators” commands
- Identify admin rights through Computer Management by going to My Computer > Manage > Local Users and Groups
In this article, I will discuss the importance of checking Windows admin rights and provide guidance on how to verify and grant access effectively.
Using Control Panel to Determine Administrator Status
To check your administrator status using the Control Panel in Windows, follow these steps:
– Click on the Start menu and select Control Panel.
– Once in the Control Panel, look for the User Accounts option.
– Click on User Accounts and then select User Accounts again.
– Here, you will see a list of all the user accounts on the computer.
– Look for your account name and check if it has administrator rights.
– If you need to grant administrator access to your account, you can do so in this menu as well.
– Simply follow the prompts to change your account type to administrator.
Verifying Administrator Privileges in Settings
- Open the Settings app by clicking on the Start menu and selecting Settings.
- Click on Accounts in the Settings window.
- Select Your info from the sidebar menu.
- Check the section labeled Account type to see if it says Administrator or Standard user.
Utilizing Command Prompt to Confirm Admin Rights
To confirm admin rights using Command Prompt, simply follow these steps:
1. Open Command Prompt: Press the Windows key + R, type “cmd,” and hit Enter.
2. Check Admin Rights: In the Command Prompt window, type “net user” and press Enter. Look for your account name and see if “Administrator” is listed next to it.
3. Grant Access: To grant admin rights, type “net user [username] /add” and press Enter. Replace “[username]” with your actual username.
4. Set as Administrator: Next, type “net localgroup administrators [username] /add” and press Enter to make your account an administrator.
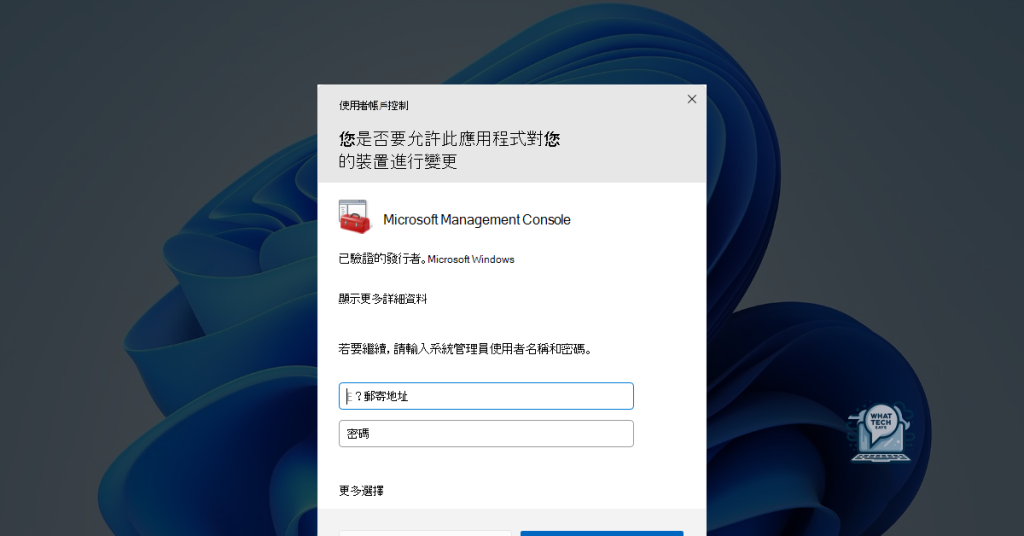
Identifying Admin Rights through Computer Management
| Step | Description |
|---|---|
| 1 | Open Computer Management by right-clicking on My Computer and selecting Manage. |
| 2 | In the Computer Management window, expand the System Tools category and select Local Users and Groups. |
| 3 | Click on the Users folder to display a list of all user accounts on the computer. |
| 4 | Look for the user account in question and check if it is a member of the Administrators group. |
| 5 | If the user account is not a member of the Administrators group, right-click on the account and select Add to Group. |
| 6 | In the Select Groups window, type Administrators in the object name field and click Check Names to verify the group. |
| 7 | Click OK to add the user account to the Administrators group. |
F.A.Qs
How do I check administrator rights in Windows 10?
To check for administrator rights in Windows 10, go to the User Accounts section in the Control Panel. Look for your account name and description – if it says “Administrator”, then you have administrator rights.
How to check user admin rights using cmd?
To check user admin rights using cmd, you can enable the Administrator account by running “net user administrator /active:yes” in Command Prompt with administrative privileges.
How do I find out who has admin rights?
To find out who has admin rights, go to the Windows System Settings, then navigate to the Accounts tab and check the user profile section for the Administrator tag.
How do I check user permissions in Windows 10?
To check user permissions in Windows 10, you need to navigate to the “Security” tab, click on the “Edit” button, select a user or group, and then adjust the permissions by checking or unchecking the boxes in the “Permissions for [username]” section.