
Summary
- Restart devices and update network drivers to reset network configurations and resolve compatibility issues
- Check and adjust your device settings in Control Panel and Device Manager to ensure hotspot connection is enabled and set as default network
- Ensure active service and correct WiFi credentials are being entered to troubleshoot laptop hotspot connection issues
- Consider investing in a signal booster to improve connectivity for laptop hotspot and eliminate dead zones
Having trouble with your laptop’s hotspot connection? Learn how to fix these issues with these helpful tips.
Restart Devices and Update Network Drivers
To troubleshoot laptop hotspot connection issues, restart your devices including your laptop and smartphone. This can help reset any network configurations that may be causing the problem. Additionally, update your network drivers on your laptop to ensure they are functioning properly and are compatible with the hotspot connection. Updating drivers can resolve any compatibility issues and improve the overall performance of your network connection. If the problem persists after restarting your devices and updating drivers, consider resetting your network settings or contacting your internet service provider for further assistance.
Check and Adjust Your Device Settings
- Check your network settings in Control Panel
- Open Control Panel and go to Network and Sharing Center
- Click on Change adapter settings
- Ensure hotspot connection is enabled and set as default network
- Adjust power settings in Control Panel
- Go to Power Options
- Choose power plan that doesn’t turn off wireless adapter
- Update network drivers in Device Manager
- Right-click on Start button and open Device Manager
- Expand Network adapters section
- Right-click on wireless adapter and select Update driver
Ensure Active Service and Correct WiFi Credentials
To fix laptop hotspot connection issues, first, ensure that the hotspot service is active on your device. Check if the WiFi credentials you are entering are correct, as any errors in typing can lead to connection problems. If the issue persists, try restarting both your laptop and the hotspot device. Additionally, make sure that your laptop’s WiFi adapter is functioning properly and is compatible with the hotspot network. If all else fails, consider resetting your network settings or contacting your internet service provider for further assistance.
Consider a Signal Booster for Improved Connectivity
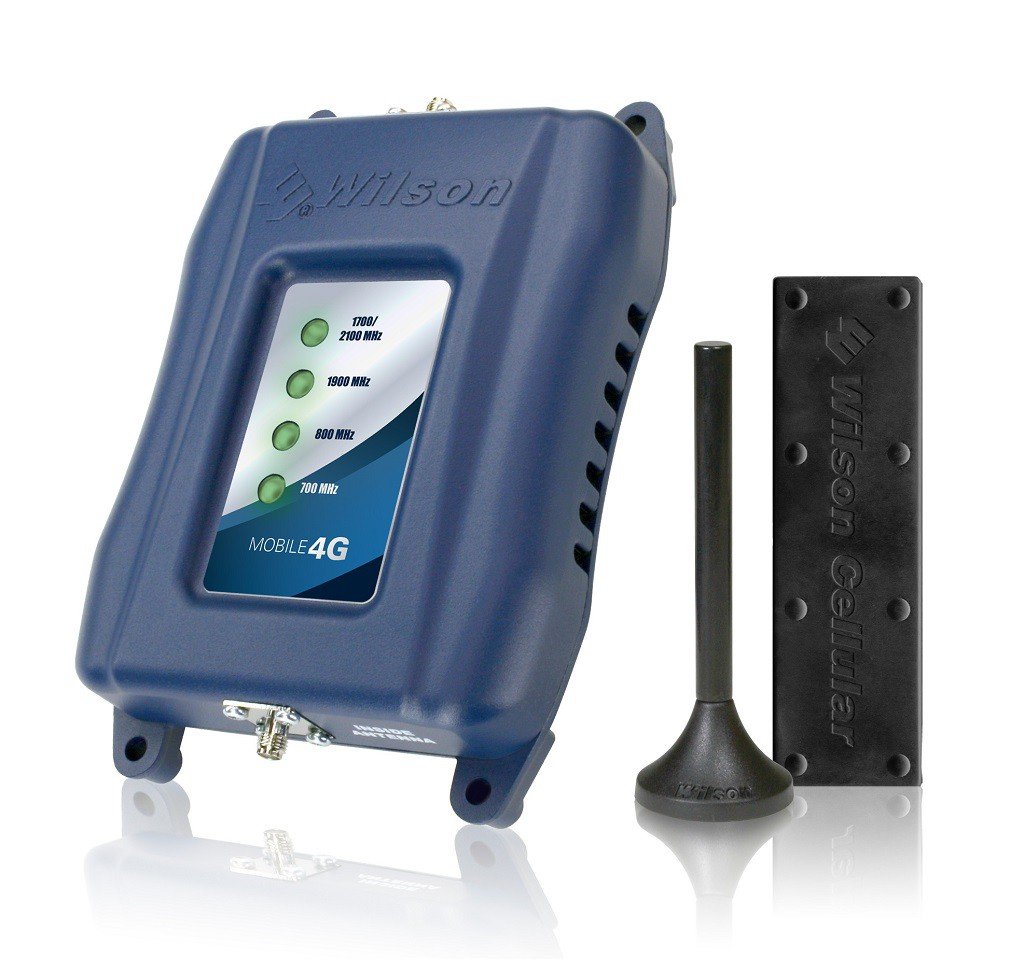
Consider investing in a signal booster to improve connectivity for your laptop hotspot. Signal boosters can enhance the strength and range of your Wi-Fi signal, providing a more stable connection. Place the signal booster in a central location to maximize its effectiveness. It can help eliminate dead zones and improve overall performance. Additionally, ensure the signal booster is compatible with your laptop’s hotspot for seamless integration.
By incorporating a signal booster into your setup, you can experience a smoother and more reliable internet connection for all your browsing and streaming needs.
FAQs
Why my laptop is not connecting to mobile hotspot?
Your laptop may not be connecting to the mobile hotspot due to an outdated network adapter driver. Try updating the driver through Device Manager, then restart both devices and test the connection with another device.
Why is my iPhone hotspot not connecting to my laptop?
Your iPhone hotspot may not be connecting to your laptop because your wireless carrier may not have enabled it or your wireless plan may not support it. Try restarting both your iPhone and laptop, and ensure that both devices have the latest version of iOS or iPadOS.
How do I get my hotspot to work with my laptop?
To get your hotspot to work with your laptop, you need to enable the mobile hotspot on your smartphone and then connect to the Wi-Fi network on your laptop. If your laptop doesn’t have Wi-Fi, you can also tether your phone to your laptop using USB or Bluetooth.
Why is my hotspot not being detected?
Your hotspot may not be detected due to a need for updating firmware, restarting the hotspot device or phone, restarting the devices trying to connect, or deleting and re-adding the Wi-Fi profile on the connecting device.