

Summary
- Insert USB drive into USB port on HP laptop
- Open File Explorer to access USB drive contents
- Transfer files by dragging and dropping or copy and paste
- Safely eject USB drive from laptop to prevent data corruption
Today, I will share some useful tips and tricks on how to easily locate a USB drive on your HP laptop.
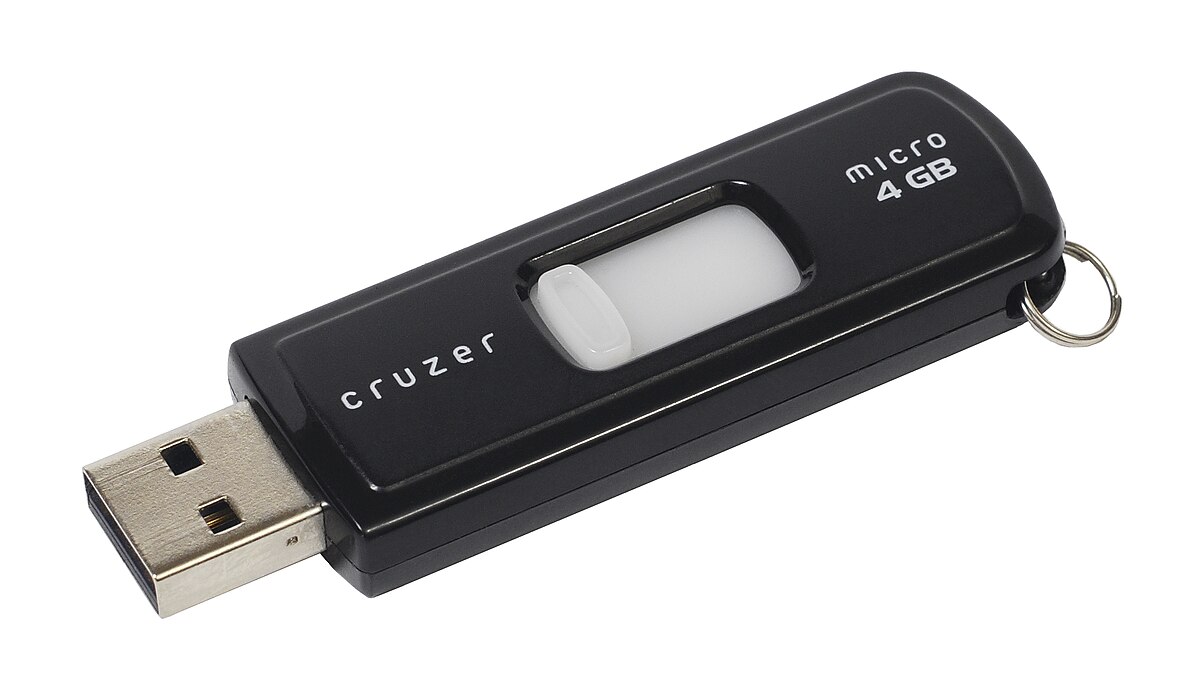
Understanding Flash Drives
![]()
Locating USB Drive on HP Laptop: To find your USB drive on an HP laptop, first, insert the flash drive into one of the USB ports on your laptop. Then, navigate to File Explorer on your laptop to access the contents of the USB drive. You can typically find File Explorer by clicking on the folder icon located on your desktop or by searching for it in the Windows search bar.
Accessing USB Drive: Once you have located File Explorer, look for the removable storage device that represents your USB drive. It is usually labeled with the drive letter assigned to it by your computer. Double-click on the drive icon to open it and view the files stored on the USB drive.
Transferring Files: To transfer files to or from your USB drive, simply drag and drop the files between your laptop and the USB drive. You can also use the copy and paste function to move files back and forth. Remember to safely eject the USB drive from your laptop when you are done transferring files to prevent data corruption.
Conclusion: Understanding how to find and use a USB drive on your HP laptop is essential for efficient file management.
Connecting and Using a USB Drive
- Check the USB port:
- Inspect the USB port for any physical damage or debris.
- Try connecting the USB drive to a different USB port on the laptop.
- Update USB drivers:
- Open Device Manager by pressing Win+X and selecting it from the menu.
- Expand the Universal Serial Bus controllers section.
- Right-click on the USB driver and select Update driver.
- Follow the on-screen instructions to update the driver.
- Check USB drive compatibility:
- Ensure that the USB drive is compatible with the HP laptop.
- Try using a different USB drive to see if the issue is with the drive itself.
- Scan for malware:
- Run a full system scan using your preferred antivirus software.
- Remove any malware detected on the system.
Transferring and Managing Files
To transfer and manage files on your HP laptop using a USB drive, follow these simple steps:
1. Locate the USB Drive: Insert your USB flash drive into one of the USB ports on your HP laptop. You should see a notification pop up on your screen indicating that a new device has been connected.
2. Access the USB Drive: Open File Explorer on your HP laptop by clicking on the folder icon in the taskbar or pressing the Windows key + E. Your USB drive should appear under “This PC” or “Devices and drives.”
3. Transfer Files: To transfer files to or from your USB drive, simply drag and drop the desired files or folders from your laptop’s hard drive to the USB drive or vice versa. You can also right-click on the file you want to transfer, select “Copy,” navigate to the USB drive, right-click, and select “Paste.”
4. Safely Eject the USB Drive: Once you have finished transferring files, it is important to safely eject the USB drive to avoid data corruption. Right-click on the USB drive in File Explorer and select “Eject.” Wait for the notification that it is safe to remove the device before physically unplugging it from your laptop.
5. Organize Files: You can create folders on your USB drive to better organize your files. Right-click in the USB drive window, select “New,” and then choose “Folder.” You can rename the folder by right-clicking on it and selecting “Rename.”
Safely Removing Your USB Drive
To safely remove your USB drive from your HP laptop, it is important to follow the proper steps to avoid data loss and potential damage to the device.
First, ensure that all files and documents on the USB drive are closed and not in use. This will prevent any potential errors when removing the drive from the laptop.
Next, locate the USB drive icon on your desktop or in the file directory of your HP laptop. This is typically represented by a small icon with the label of the drive.
Once you have located the USB drive icon, right-click on it to bring up the context menu. From the options provided, select the option to eject or safely remove the USB drive.
After selecting the eject option, wait for a notification or confirmation message that it is safe to remove the USB drive. This ensures that all data has been properly saved and the drive can be safely removed without any risk of data loss.
Finally, gently remove the USB drive from the port on your HP laptop. It is important to handle the drive carefully to avoid any damage to the device or the port itself.
FAQ
Why is my USB not showing up on my HP laptop?
Your USB may not be showing up on your HP laptop if it was previously stopped and not properly disconnected from the USB port. To fix this issue, disconnect the device, wait for about 20 seconds, and then reconnect it to make it display in the Safely Remove Hardware window.
How do I find my USB on my laptop?
To find your USB on your laptop, look for rectangular slots on the front, back, or side of your computer. If it doesn’t fit, try flipping it over. If you’re using Windows, a dialog box may appear prompting you to select “Open folder to view files.”
How do I enable USB ports on my HP laptop?
To enable USB ports on your HP laptop, you can access the System Configuration in the BIOS/Platform Configuration (RBSU) menu. From there, navigate to USB Options and select USB Control. Choose the setting for USB Enabled to enable all USB ports and embedded devices. Finally, save your changes by pressing F10.