
If you’re tired of your Linksys E3000 router constantly changing IP addresses, assigning a static IP can be a simple solution. Here’s a step-by-step guide to help you through the process.
Introduction to Linksys E3000 Static IP
The Linksys E3000 router is a popular choice for home and small office networks. One of the features it offers is the ability to assign static IP addresses to devices on the network. This can be useful for devices that need a consistent IP address, such as network printers, servers, or security cameras.
Assigning a static IP address to a device on the network ensures that the device always has the same IP address, even after restarting the router or the device itself. This makes it easier to access the device remotely, as well as for other devices on the network to communicate with it.
In this step-by-step guide, we will walk you through the process of assigning a static IP address on your Linksys E3000 router. Whether you’re a beginner or an advanced user, this guide will provide you with all the information you need to get started.
Setting up a static IP address on Linksys E3000
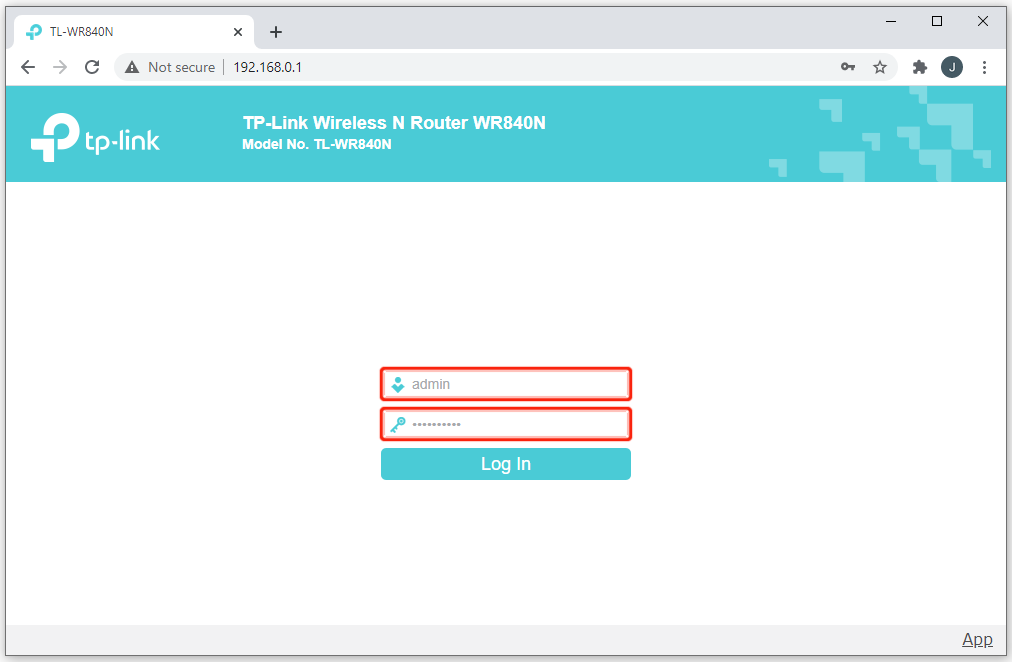
- Step 1: Open a web browser and enter “192.168.1.1” in the address bar.
- Step 2: Enter your login credentials and click “Login”.
- Step 3: Click on “Setup” in the top menu bar.
- Step 4: Click on “Basic Setup”.
- Step 5: Scroll down to “Network Setup” and click on “Network Address Server Settings (DHCP)”.
- Step 6: Disable the DHCP server by selecting “Disabled”.

- Step 7: Scroll down to “Static DNS 1” and enter the IP address of your DNS server.
- Step 8: Scroll down to “Static DNS 2” and enter the IP address of your secondary DNS server (optional).
- Step 9: Scroll down to “Static DNS 3” and enter the IP address of your tertiary DNS server (optional).
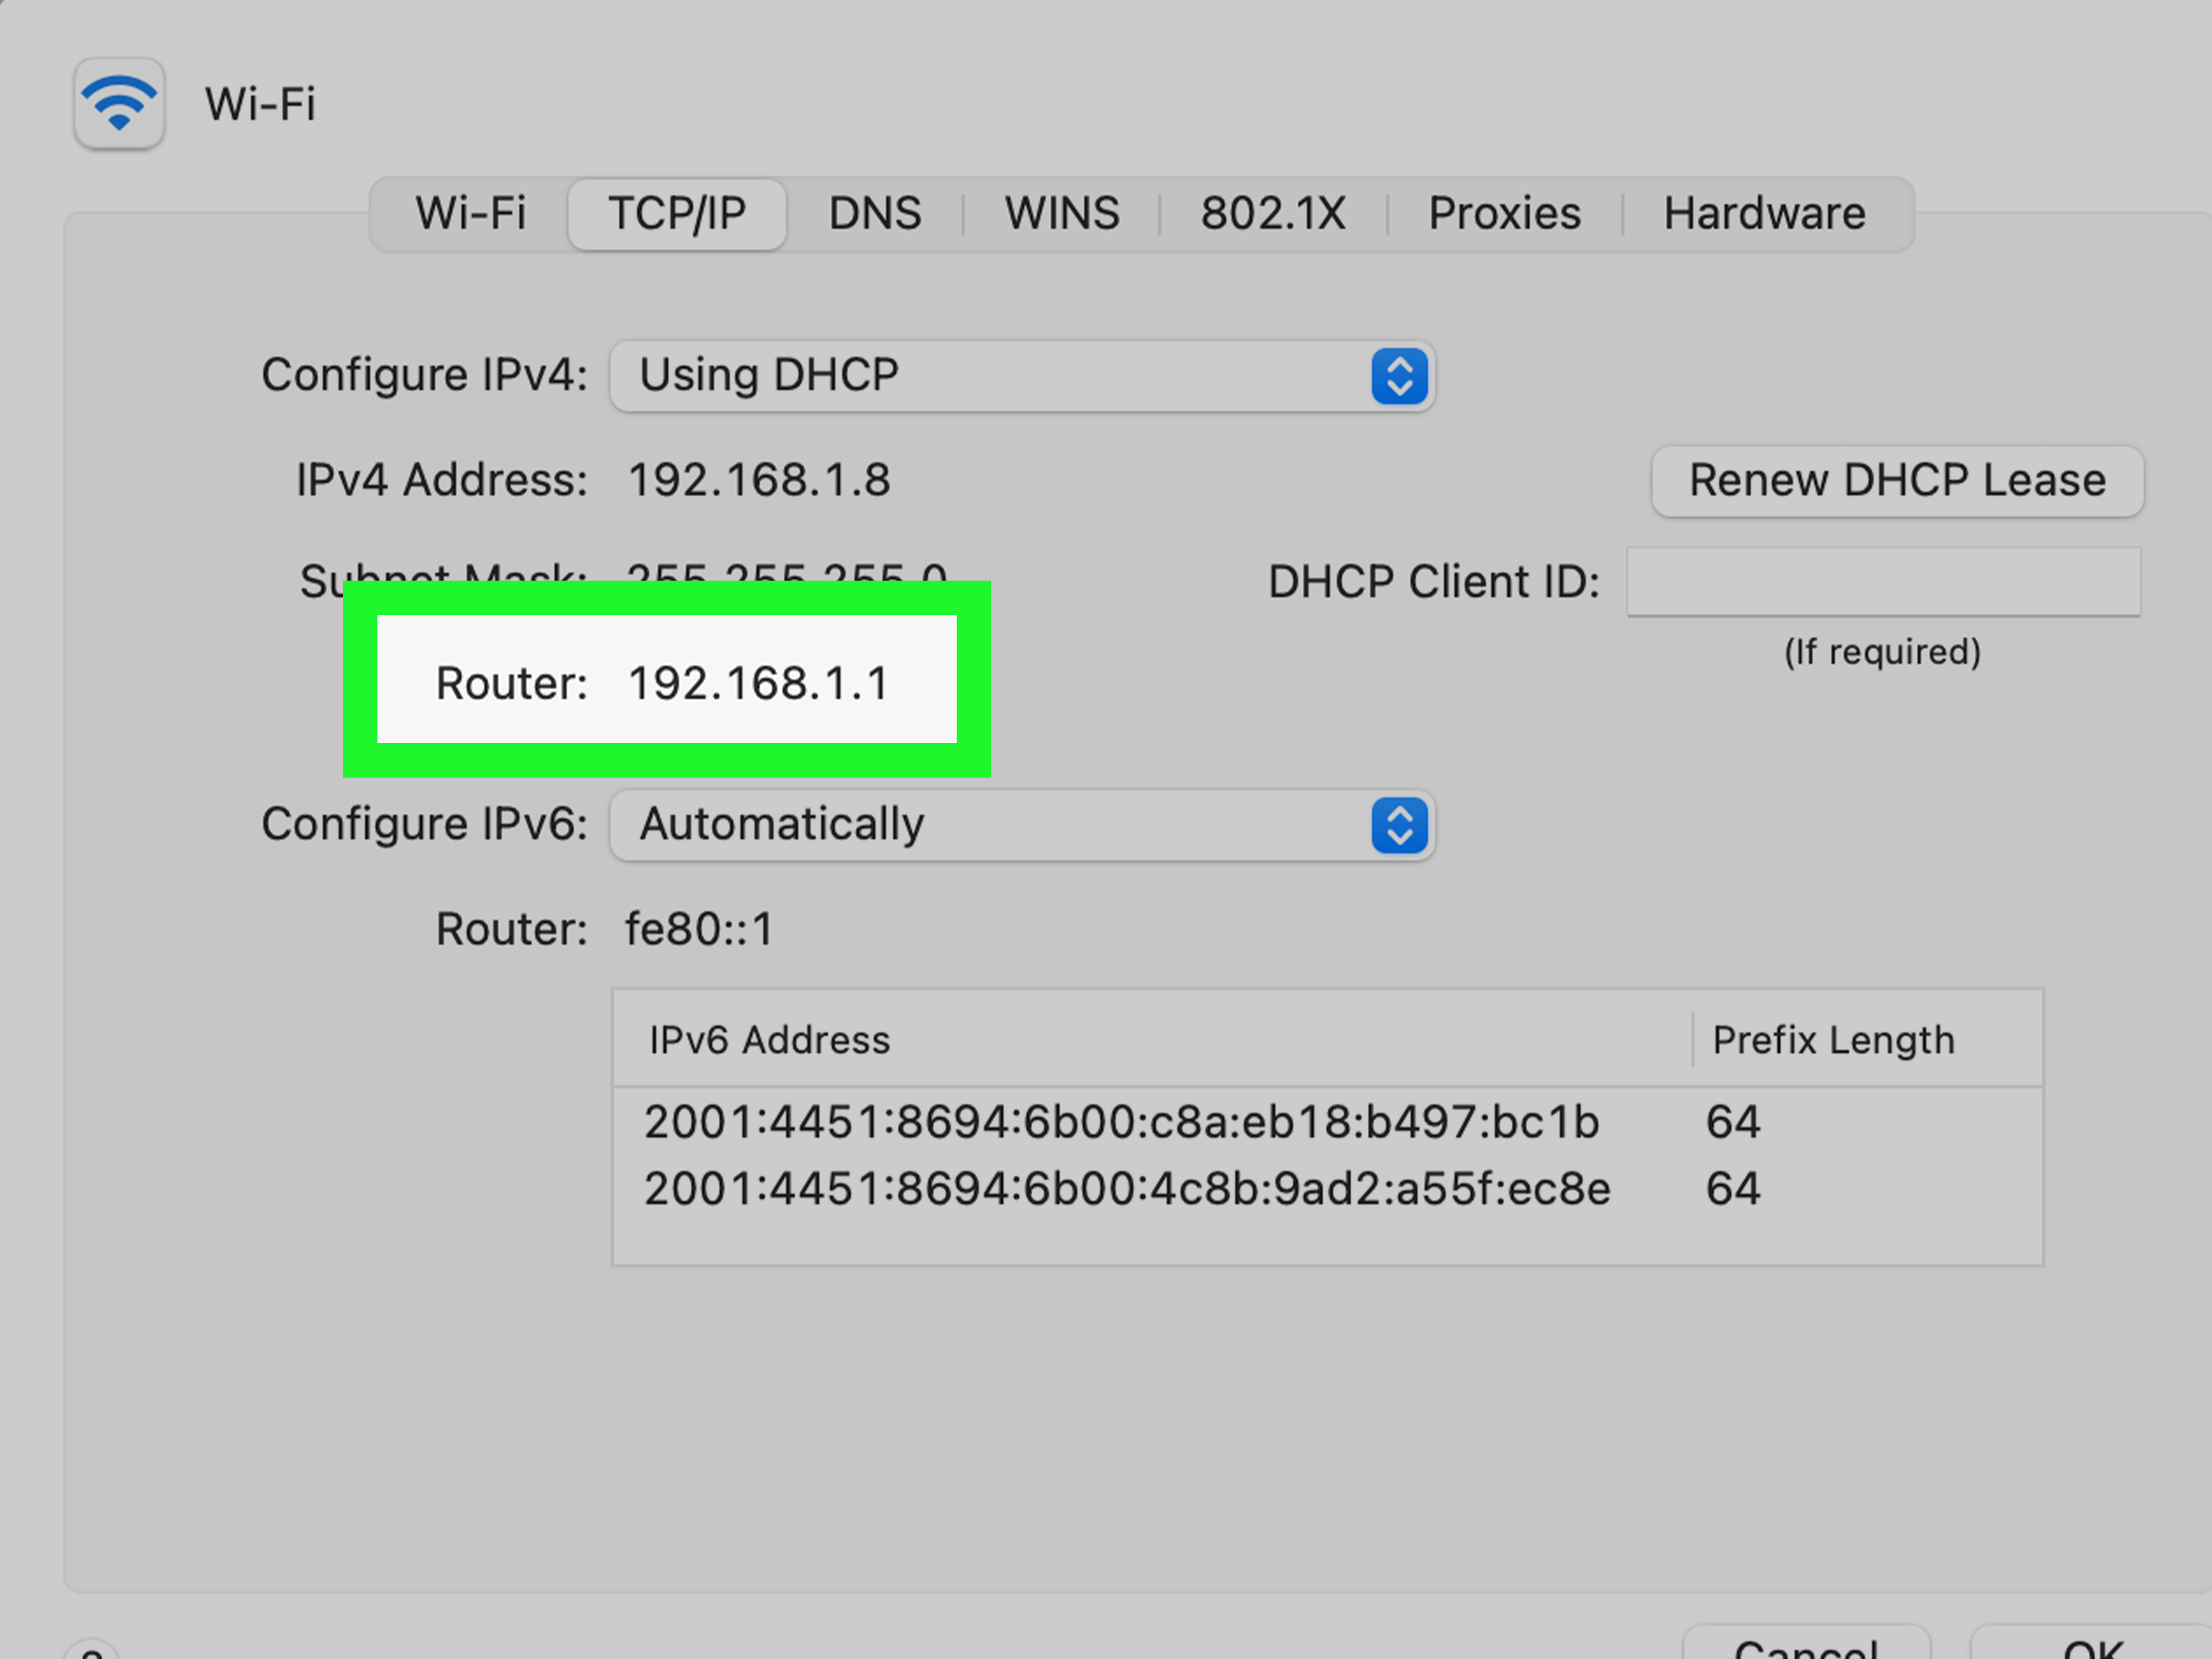
- Step 10: Scroll down to “Router IP” and enter the IP address that you want to assign to your router.
- Step 11: Scroll down to “Subnet Mask” and enter the subnet mask for your network.
- Step 12: Scroll down to “Gateway” and enter the IP address of your gateway.
- Step 13: Click “Save Settings” to apply the changes.
- Step 14: Restart your router to apply the changes.
Benefits of using a static IP address on Linksys E3000
There are several benefits to using a static IP address on your Linksys E3000 router. First, it allows you to have greater control over your network by assigning specific IP addresses to devices. This can be especially helpful if you have devices that require port forwarding or if you want to prioritize certain devices over others.
Second, a static IP address can improve the overall stability and reliability of your network. This is because each device on your network will have a consistent, unchanging IP address, which can make it easier for devices to communicate with each other and for your router to keep track of connected devices.
Finally, a static IP address can be more secure than a dynamic IP address, as it is less susceptible to hacking attempts or other security breaches. By assigning a unique IP address to each device on your network, you can better protect your network from potential threats.
Common issues with Linksys E3000 Static IP and how to troubleshoot them
| Common Issues | Troubleshooting Steps |
|---|---|
| Incorrect IP address | Check and confirm the correct IP address for the device. Verify that the IP address is within the range of the router’s subnet. |
| IP address conflict | Check for any other devices on the network that may have the same IP address. Change the IP address of the device or assign a different IP address to the conflicting device. |
| Incorrect subnet mask | Verify that the subnet mask is correct for the network. It should match the subnet mask of the router. |
| Incorrect gateway address | Confirm that the gateway address is correct. It should be the IP address of the router. |
| Incorrect DNS server address | Verify that the DNS server address is correct. It should be the IP address of the DNS server provided by the internet service provider or a public DNS server such as Google DNS. |
| Device not connected to network | Check the network connection of the device. Ensure that the device is connected to the router and has a valid IP address assigned. |
| Firewall blocking access | Check the firewall settings on the router and the device. Allow access to the device on the network. |
Advanced settings and customization options for Linksys E3000 Static IP
Advanced settings and customization options for Linksys E3000 Static IP can be accessed through the router’s web-based setup page. Once you have accessed the setup page, go to the “Local Network” tab and select “DHCP Reservation” to assign a static IP address to a device on your network. This feature allows you to assign a specific IP address to a device, ensuring that it always receives the same address.
You can also use the “Static IP” option to assign a static IP address to a device that is not connected to the network, such as a printer or a server. This option requires you to manually enter the IP address, subnet mask, and default gateway.
Moreover, the Linksys E3000 router allows you to configure advanced settings such as port forwarding, Quality of Service (QoS), and VPN passthrough. Port forwarding enables you to open specific ports on your router to allow incoming traffic to reach a specific device on your network. QoS allows you to prioritize bandwidth for certain applications or devices on your network, ensuring that they receive the necessary bandwidth for optimal performance. VPN passthrough allows you to connect to a VPN server from a device on your network.
By using the advanced settings and customization options available on your Linksys E3000 router, you can optimize your network for better performance and security.