
Discover how to install Ubuntu on Windows Subsystem for Linux (WSL) with this step-by-step guide.
Introduction to Ubuntu on Windows Subsystem for Linux (WSL)
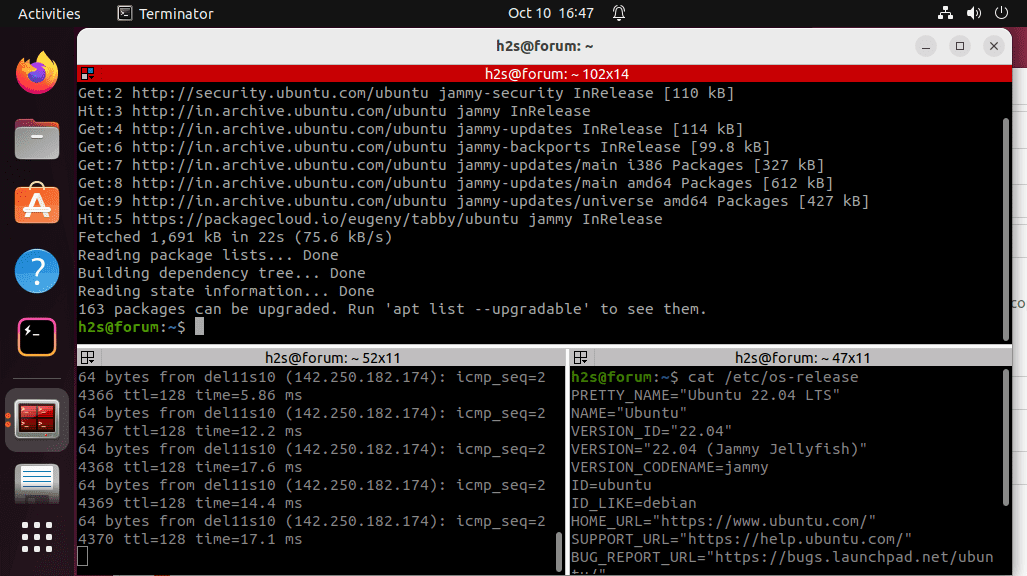
Ubuntu on Windows Subsystem for Linux (WSL) is a powerful feature that allows you to run Linux applications directly on your Windows 10 machine. With Ubuntu WSL, you can access a full Linux environment without the need for a dual-boot setup or virtualization technique. In this article, you’ll learn how to install Ubuntu WSL on your Windows machine in a few simple steps. First, launch PowerShell or Command Prompt and enter the following command wsl –install. This will download and install the Ubuntu distribution from the Microsoft Store. Once installed, you can launch Ubuntu from the Start menu and use the wsl command to access the Linux environment. You can also install other Linux distributions like OpenSUSE, Debian, Fedora, and Arch Linux from the Microsoft Store. With Ubuntu WSL, you can install compilers, binaries, and GUI apps directly from the Windows Store. To enable Linux GUI applications, you’ll need to install an optional component like X Server or VcXsrv. With Ubuntu WSL, developers and IT infrastructure companies can work in a Linux environment without having to switch machines or set up a virtual machine.
Deploying Ubuntu on WSL for Development and Servers
To deploy Ubuntu on Windows 10 WSL for development and servers, follow these steps:
1. Turn on the WSL feature in Windows 10 Settings.
2. Install Ubuntu from the Microsoft Store or using the command wsl –install -d Ubuntu.
3. Launch Ubuntu from the Start menu or using the wsl command in PowerShell or Command Prompt.
4. Install compilers, binaries, and programs using the apt-get command.
5. To enable GUI apps, install an X server like VcXsrv and launch it before launching Ubuntu.
6. For WSL 2, enable the optional component in Windows settings, install Ubuntu from the Microsoft Store, and use wsl –set-version Ubuntu 2 to upgrade.
7. Set the distribution name using wsl –set-default Ubuntu and allocate enough memory using wsl –list –verbose and wsl –shutdown.
8. Use manual or automatic editors like nano or vim to modify files in the Ubuntu distribution.
Deploying Ubuntu on WSL is a powerful way for developers and companies to leverage the features of Linux without requiring a separate IT infrastructure or dualboot. WSL allows for seamless integration of Linux commands and tools within the Windows console window.
Ubuntu Editors, Scripting, and Numerical Computation Applications on WSL
- Ubuntu Editors: Learn about popular Ubuntu text editors such as Vim, Emacs, and Nano
- Scripting: Discover how to write and execute shell scripts on Ubuntu WSL
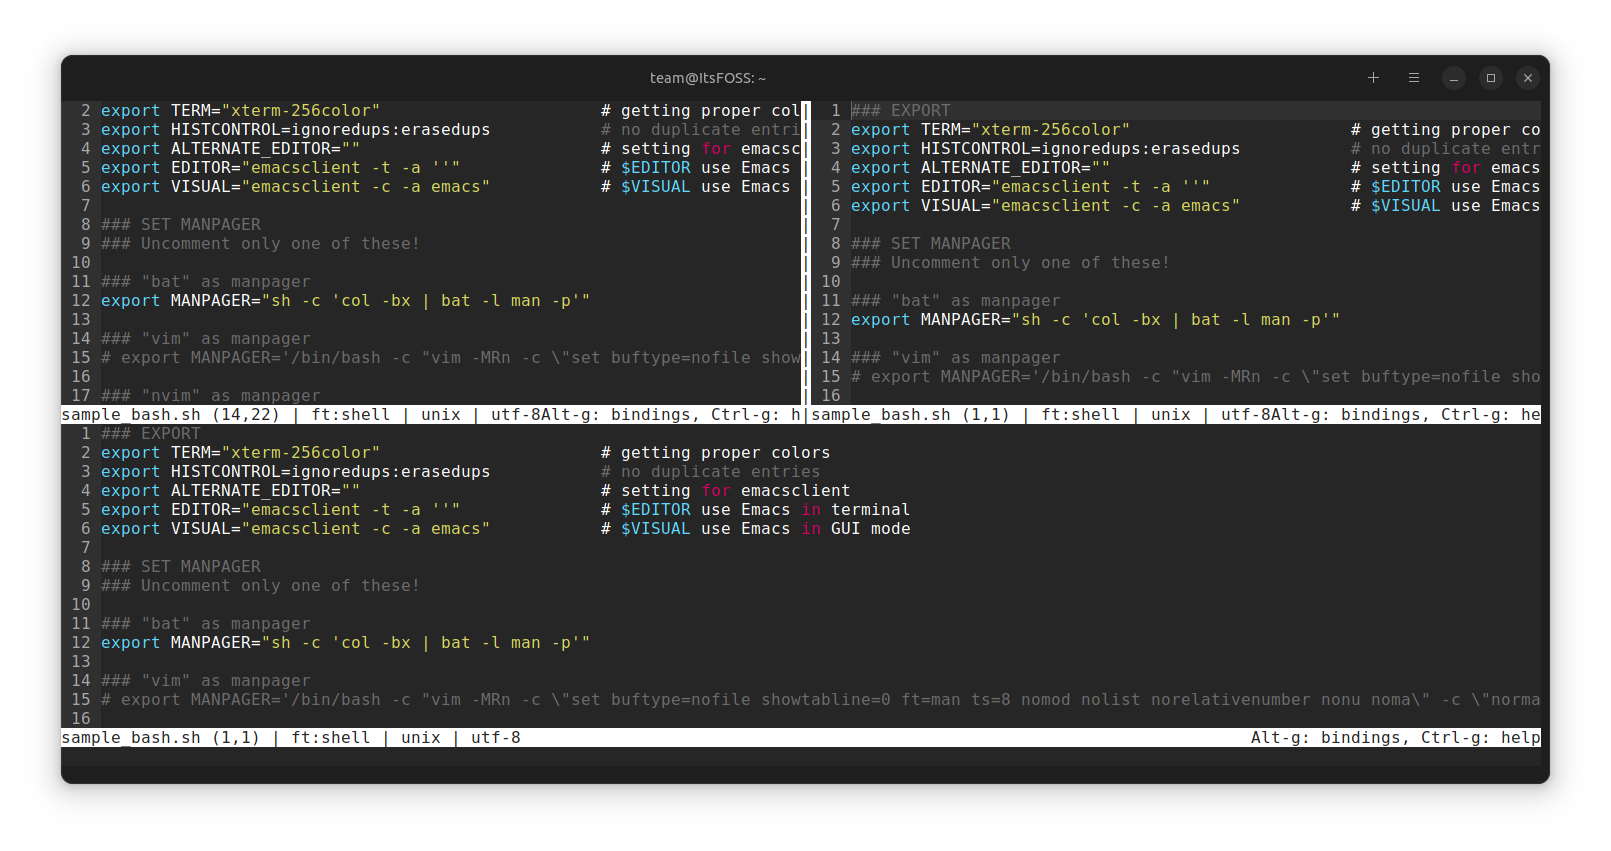
- Numerical Computation Applications: Explore Ubuntu applications for numerical computation, such as Octave and R
python

import os
def create_directory(path):
"""
This function creates a new directory in the Ubuntu for Windows Subsystem environment.
"""
try:
os.mkdir(path)
print("Directory created successfully!")
except OSError:
print("Directory creation failed!")
# Example usage
create_directory("/mnt/c/Users/YourUsername/Desktop/new_directory")
This code creates a new directory within the Ubuntu for Windows Subsystem environment. It utilizes the `os` module in Python to create a new directory with the `mkdir()` function. The function takes a single argument, which is the path to where the new directory should be created. In this example, the path is set to the user’s desktop directory.
Note that the example path shown above assumes that the Windows user’s desktop is located at `/mnt/c/Users/YourUsername/Desktop/` within the Ubuntu for Windows Subsystem environment. You may need to adjust the path according to your own system setup.
This is just one example of what a tool associated with Ubuntu for Windows Subsystem could do. There are many other possibilities, depending on what your specific needs are.
Using Ubuntu WSL for Network Hardening and Web Services
To use Ubuntu WSL for network hardening and web services, you need to install it first. Here’s a concise guide to do that:
1. Ensure that your Windows 10 has WSL enabled. If not, follow the instructions on the Microsoft page.
2. Open PowerShell as an administrator and run the command windows PowerShell.
3. In the PowerShell console window, enter the command Get-WindowsCapability -Online -Name “WindowsSubsystemLinux”.
4. To install Ubuntu, use the command Enable-WindowsOptionalFeature -Online -FeatureName Microsoft-Windows-Subsystem-Linux.
5. After installation, launch Ubuntu by typing Ubuntu or wsl in the console window.
6. If you want to use a GUI, install an X server like VcXsrv and launch it before launching Ubuntu.
7. You can then install any Linux program or package using the apt-get command.
8. Ubuntu WSL 2 is also available on the Windows Store, and you can install it like any other app.
That’s everything you need to know to install Ubuntu WSL for network hardening and web services.
Deploying Containers and Kubernetes on Ubuntu WSL
| Step | Description |
|---|---|
| Step 1 | Install Ubuntu WSL on Windows 10 |
| Step 2 | Update and upgrade Ubuntu WSL |
| Step 3 | Install Docker on Ubuntu WSL |
| Step 4 | Configure Docker to run without sudo |
| Step 5 | Install kubectl on Ubuntu WSL |
| Step 6 | Install Minikube on Ubuntu WSL |
| Step 7 | Start Minikube on Ubuntu WSL |
| Step 8 | Verify Kubernetes installation on Ubuntu WSL |
Ubuntu WSL for Data Scientists and Enterprise Support
Ubuntu WSL is a powerful way for data scientists and enterprises to turn Windows 10 into a Linux distribution with full support. To get started, you’ll need to install Ubuntu WSL using the install command in PowerShell. Before you launch the command, make sure you have the prerequisites like enough memory and a compatible version of Windows 10. Once you’ve installed Ubuntu WSL, you can use WSL commands to access and run Linux programs and even launch a Linux GUI like Fedora or OpenSUSE. With Ubuntu WSL 2, you can take advantage of the virtualization technique and run a virtual machine using Hyper V. Whether you’re a data scientist or an enterprise, Ubuntu WSL has everything you need to enable Linux on your Windows machine.
Installing and Configuring Ubuntu on WSL: Prerequisites and User Info
- Ensure the latest version of Windows 10 is installed on your device
- Enable Windows Subsystem for Linux (WSL) in the “Turn Windows features on or off” settings
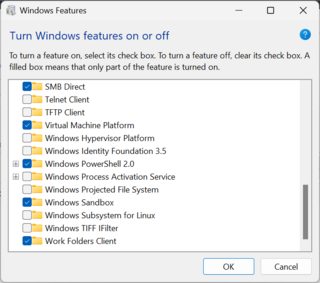
- Install a Linux distribution from the Microsoft Store, such as Ubuntu
- Create a username and password for your Linux environment
- Launch the Ubuntu application and run sudo apt-get update to update the package list
- Configure your preferred terminal emulator for the Linux environment
- Install any additional packages or software needed for your project
Upgrading WSL Versions and Running Multiple Linux Distributions on Ubuntu WSL
To upgrade your Ubuntu WSL version, launch your terminal and run the wsl –list –verbose command to see your current distributions. If you want to upgrade to WSL2, run wsl –set-version [Distribution Name] 2. You can also run multiple Linux distributions on Ubuntu WSL using the wsl –import command. Specify the distribution name, its location, and the downloaded form. To launch a specific distribution, type wsl –distribution [Distribution Name] in your terminal. For those who prefer a GUI, you can install wsl-gui or wsl2-gui. Note that WSL2 requires Hyper-V, which may not be available on all Windows 10 versions. Refer to the article’s manual for more information on WSL deployments and dual-boot setups.
Best Practices and Additional Resources for Ubuntu WSL
- Ensure that your Windows 10 build is version 16215 or later
- Install Ubuntu from the Microsoft Store

- Update your Ubuntu installation with
sudo apt-get update && sudo apt-get upgrade - Customize your Ubuntu WSL environment with your preferred terminal, shell, and applications
- Configure your network settings if necessary
- Access your Windows files and directories from Ubuntu with
/mnt/c/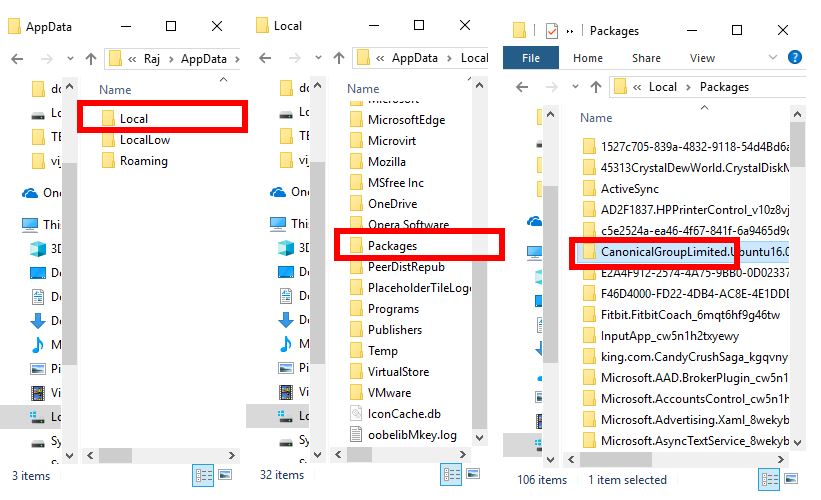
- Explore additional resources such as official Ubuntu documentation, blogs, and forums
- Join the Ubuntu WSL community to connect with other users and receive support
Partnering with Canonical for Systemd Support on WSL
Partnering with Canonical, Ubuntu’s parent company, has made Systemd support possible on Windows 10’s WSL. This collaboration has paved the way for easier Ubuntu WSL installations.
To start, open PowerShell and enter the install command to set up WSL.
Once installed, launch Ubuntu from the Start menu or enter the WSL command in PowerShell.
For dualboot systems, follow the instructions on the Ubuntu WSL Installation Guide page for a seamless installation.
Systemd support allows for more powerful customization options and a smoother experience when running Ubuntu on Windows.
For enterprises, Ubuntu WSL deployments can be a work solution to streamline development processes.
Refer to the guide for a screenshot walkthrough of the installation process.
Additionally, Canonical has launched a WSL2 GUI which brings a graphical user interface to WSL, allowing for a more immersive experience.
Arch Linux and Debian are also available for installation on WSL through similar means.
For more information, visit Canonical’s website.