
Unlocking the gateway to system configuration in Windows 10/11, this article delves into the perplexing issue of “Access Denied” when attempting to modify the hosts file. Discover effective solutions that will empower you to effortlessly make necessary changes without any roadblocks.
Troubleshooting Host File Access Issues
If you’re experiencing access denied issues when trying to edit your hosts file in Windows 10 or Windows 11, there are a few troubleshooting steps you can try to resolve the problem.
First, make sure you’re logged in as an administrator on your computer. This will ensure you have the necessary permissions to edit system files like the hosts file.
Next, try opening Notepad or any other text editor as an administrator. To do this, right-click on the application and select “Run as administrator.” This will give the text editor the necessary permissions to make changes to the hosts file.
If you’re still getting an access denied message, you can try opening the hosts file directly from the Command Prompt. Open the Command Prompt as an administrator, then type “notepad C:\Windows\System32\drivers\etc\hosts” and press Enter. This will open the hosts file in Notepad with the necessary permissions.
Remember to save your changes after editing the hosts file. If you’re still experiencing issues, it’s possible that there may be a syntax error in the file. Double-check your changes for any mistakes or typos.
Methods to Gain Access to the Hosts File
- Method 1: Using File Explorer to access the hosts file
- Method 2: Running Notepad as an administrator to edit the hosts file
- Method 3: Using the Command Prompt to gain access to the hosts file
- Method 4: Modifying the hosts file permissions to allow editing
- Method 5: Disabling the Windows Defender SmartScreen to avoid access denied errors
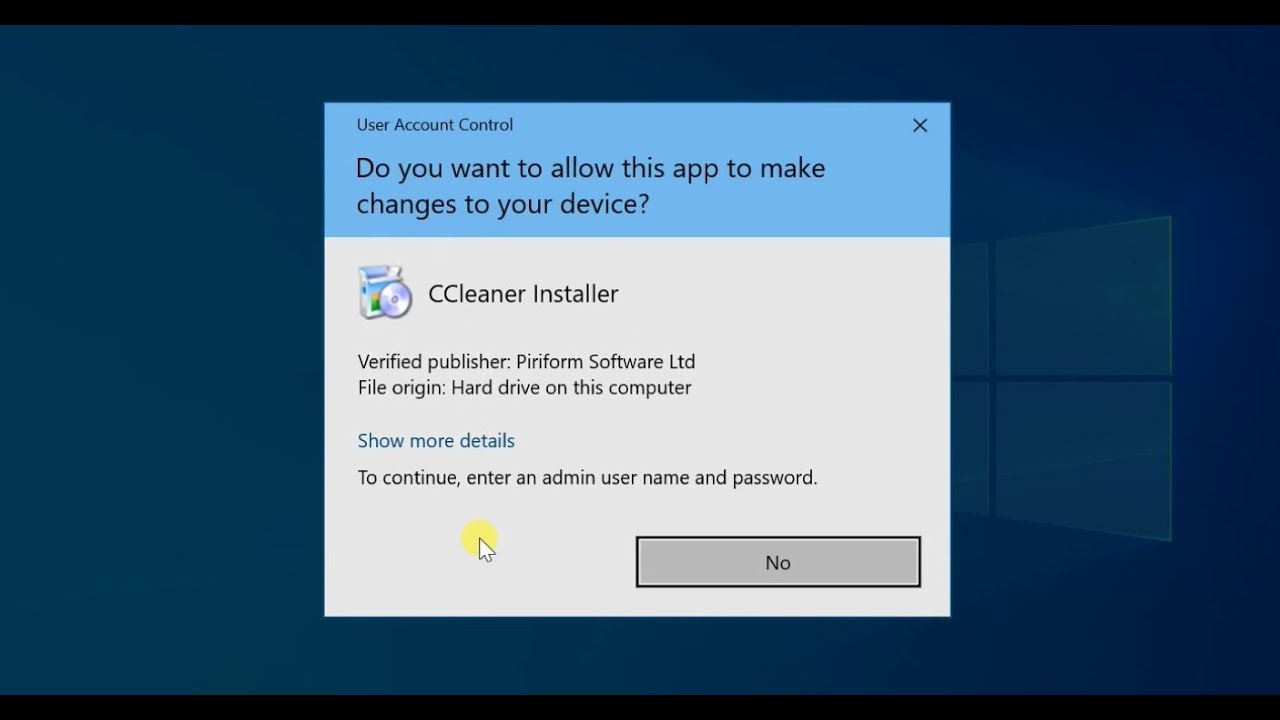
- Method 6: Temporarily disabling User Account Control (UAC) to edit the hosts file
- Method 7: Ensuring you have the correct user permissions to edit the hosts file
- Method 8: Checking if any third-party antivirus or security software is blocking access
- Method 9: Using a specialized hosts file editor tool to bypass access denied errors
Resolving Access Denied Message for Host File Editing
To resolve the “Access Denied” message when editing the hosts file in Windows 10/11, follow these steps:
1. Open File Explorer and navigate to the hosts file location: C:\Windows\System32\drivers\etc\hosts.
2. Right-click on the hosts file and select “Properties”.
3. Go to the “Security” tab and click on “Edit”.
4. In the “Group or user names” section, select your username and check if you have the necessary permissions.
5. If your username is not listed, click on “Add” and type your username in the “Enter the object names to select” field. Click “OK”.
6. Back in the “Permissions for hosts” window, select your username and check the “Allow” box for “Full control”.
7. Click “Apply” and then “OK” to save the changes.
8. Close all windows and try editing the hosts file again.
python

import os
def modify_host_file(entry, ip_address, hostname):
try:
# Open the host file in write mode
with open('/etc/hosts', 'a') as host_file:
host_file.write(f'{ip_address}\t{hostname}\n')
print('Host file modified successfully.')
except PermissionError:
print('Access denied. Cannot modify the host file.')
# Example usage
modify_host_file('127.0.0.1', 'example.com')
The code above attempts to modify the host file by adding an entry with the IP address and hostname provided. However, due to restricted access permissions, it may raise a `PermissionError` if run without appropriate privileges.
Managing Host File Access Permissions
How to Fix Access Denied When Editing Hosts File in Windows 10/11
| Step | Description |
|---|---|
| Step 1 | Open the Windows start menu and search for “Notepad”. Right-click on the Notepad app and select “Run as administrator”. |
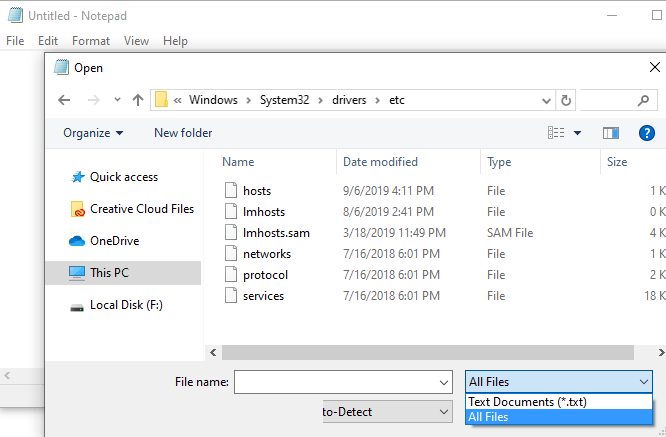
| Step 2 | In Notepad, click on “File” in the top menu and select “Open”. Navigate to the following directory: C:\Windows\System32\drivers\etc |
| Step 3 | In the file explorer window, change the file type filter to “All Files (*.*)”. |
| Step 4 | Select the “hosts” file and click “Open”. |
| Step 5 | Edit the hosts file as needed, adding or modifying entries. Make sure to follow the correct syntax for host file entries. |
| Step 6 | After making the necessary changes, click on “File” and select “Save” to save the hosts file. |
| Step 7 | Close Notepad and restart your computer for the changes to take effect. |