
Welcome to the world of live streaming on YouTube, where your content can reach millions of viewers in real-time! This article serves as your ultimate guide, unveiling the secrets and techniques to successfully stream on YouTube Live. Whether you’re a beginner or a seasoned streamer, get ready to dive into the captivating realm of live broadcasting and captivate your audience like never before.
Requirements for YouTube Live
To stream on YouTube Live, you need to meet certain requirements. First, ensure that you have a YouTube channel with a sufficient number of subscribers. This is necessary to access YouTube Live. Additionally, make sure you have enabled live streaming on your channel’s settings.
Next, consider your streaming platform. YouTube Live supports various platforms, including mobile devices and websites. Choose the platform that best suits your needs.
For mobile streaming, ensure that you have an Android device running Android 5.0 or higher. For website streaming, make sure you have the necessary documentation and consent from the website owner.
Regardless of the platform, ensure that your privacy settings allow for public streaming. This will ensure that your stream is accessible to everyone.
Lastly, make sure you have the required equipment and software. Depending on your chosen platform, you may need OBS Studio, a stream key, or specific devices like a PS4 or iPhone.
By meeting these requirements, you can start streaming on YouTube Live and engage with your audience in real-time.
Limitations of mobile live streaming audience
When it comes to streaming on YouTube Live using mobile devices, there are a few limitations to keep in mind.
Firstly, mobile live streaming is only available to users who have at least 1,000 subscribers. This requirement helps ensure that the content reaches a significant audience.
Additionally, mobile live streaming is currently limited to certain countries. If you’re trying to stream from a country where it’s not supported, you won’t be able to go live from your mobile device.
Another limitation is that mobile live streaming requires a stable internet connection. If your internet connection is weak or unreliable, your stream quality may suffer.
Lastly, it’s important to note that some mobile devices may not support live streaming. Make sure your device meets the necessary requirements, such as having Android 5.0 or later, to avoid any compatibility issues.
By keeping these limitations in mind, you can make the most out of your mobile live streaming experience on YouTube Live.
What happens after reaching 1,000 subscribers?
After reaching 1,000 subscribers on YouTube Live, you gain access to some additional features and options. One of the main benefits is the ability to request distribution of your livestreams through Amazon CloudFront, which helps improve the streaming experience for viewers around the world. When you reach this milestone, you may also have the option to enable livestream traffic to be served from a server closer to your viewers, reducing potential configuration errors. Additionally, you’ll have access to documentation and privacy settings to help you manage your livestreams and ensure the right level of consent from your audience. If you encounter any issues, you can reference the Request ID for assistance.
python

import googleapiclient.discovery

import googleapiclient.errors

from google.oauth2.credentials import Credentials
def get_live_stream_details(api_key, channel_id):
youtube = googleapiclient.discovery.build('youtube', 'v3', developerKey=api_key)
try:
response = youtube.search().list(
part='snippet',
channelId=channel_id,
type='video',
eventType='live'
).execute()
if len(response['items']) > 0:
stream_info = response['items'][0]['snippet']
print("Stream Title:", stream_info['title'])
print("Stream Description:", stream_info['description'])
print("Stream Thumbnail URL:", stream_info['thumbnails']['default']['url'])
else:
print("No live stream found.")
except googleapiclient.errors.HttpError as e:
print("An error occurred:", e)
# Provide your YouTube API key and channel ID
api_key = 'YOUR_API_KEY'
channel_id = 'YOUR_CHANNEL_ID'
get_live_stream_details(api_key, channel_id)
Please note that this sample code only retrieves basic details about the live stream, such as the title, description, and thumbnail URL. For more advanced streaming features, you would need to refer to the YouTube API documentation and incorporate additional functionality.
If you are interested in developing a comprehensive streaming tool for YouTube, I recommend referring to YouTube’s API documentation and exploring their official developer resources for more in-depth guidance.
Creating and scheduling a mobile live stream
To create and schedule a mobile live stream on YouTube Live, follow these steps:
1. Open the YouTube app on your phone and sign in to your YouTube account.
2. Tap the camera icon at the top of the app to start a new live stream.
3. Choose the privacy setting for your live stream, whether it’s public, unlisted, or private.
4. Enter a title for your live stream and add a description if desired.
5. Select the appropriate options for your live stream, such as enabling live chat or enabling monetization.
6. Tap “Next” and select “Mobile stream” as the stream type.
7. If you want to restrict the live stream to a specific audience, you can set audience limitations.
8. Tap “Schedule for later” if you want to schedule your live stream for a specific date and time.
9. Enter the date and time for your scheduled live stream and tap “Done.”
10. Finally, tap “Go Live” to start your mobile live stream on YouTube Live.
Enabling livestreaming on YouTube
To enable livestreaming on YouTube, follow these simple steps:
1. Sign in to your YouTube account and go to your YouTube Studio dashboard.
2. Click on the “Create” button at the top right corner and select “Go live.”
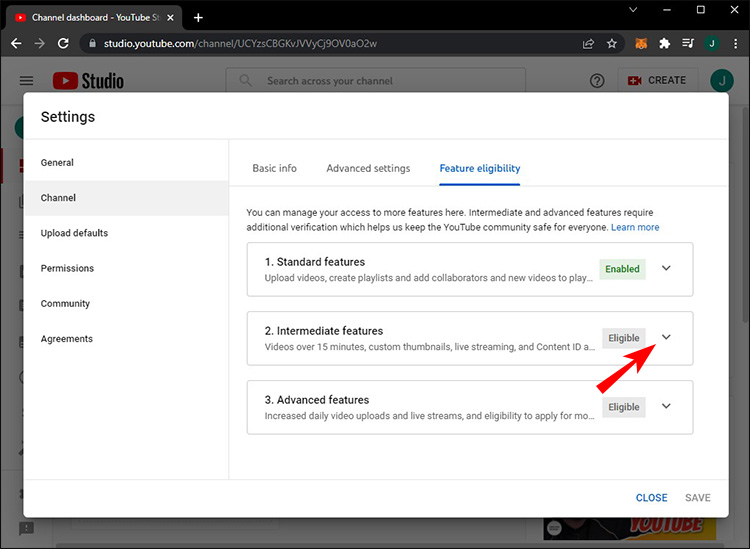
3. If it’s your first time streaming, you may need to verify your account.
4. Set up your livestream by entering a title, description, and selecting your privacy settings.
5. Choose the platform you’ll be streaming from, such as your computer or mobile device.
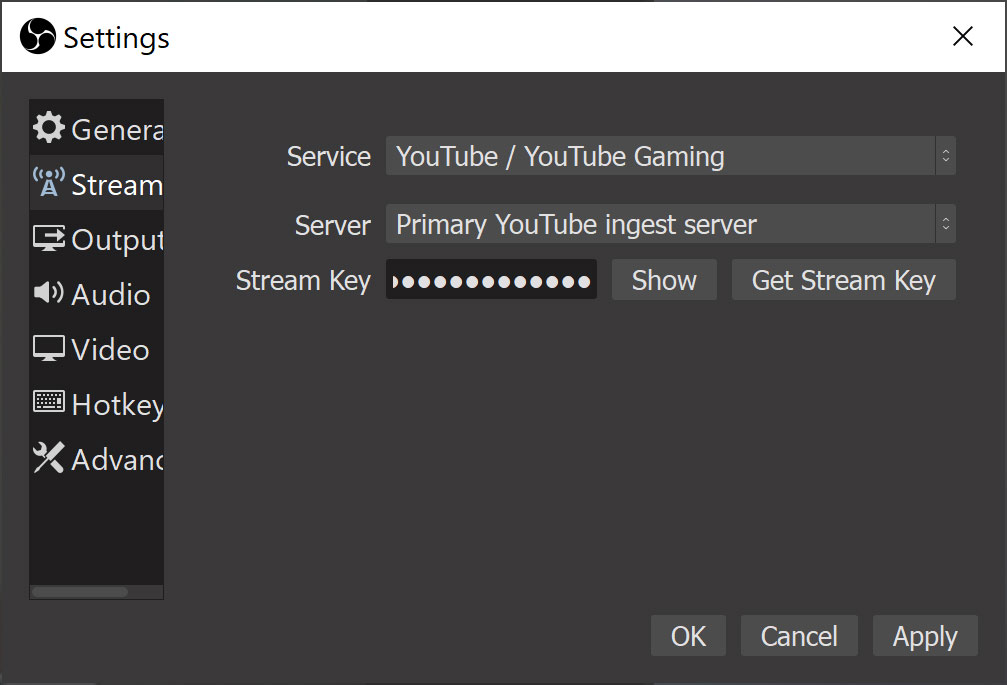
6. If you’re streaming from a computer, you can use OBS Studio or other broadcasting software. Enter the **stream key** provided by YouTube into OBS Studio’s settings.
7. If you’re streaming from a mobile device, download the YouTube app and go to your channel’s livestream page.
8. Start your livestream and engage with your audience through chat and Q&A features.
Livestreaming on YouTube offers a great opportunity to connect with your audience, share valuable content, and grow your channel. So go ahead and start streaming your events, workshops, webinars, or any other content you’d like to share with the world.
Choosing the stream type based on purpose
Choosing the right stream type is crucial when streaming on YouTube Live. The stream type you choose should align with your purpose.
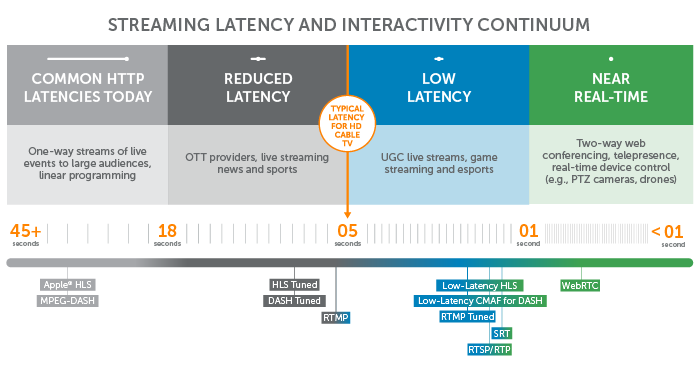
If you want to reach a wide audience and have high-quality video distribution, consider using the “Normal latency” stream type. This option allows for better distribution and can be beneficial for events or live shows.
For low-latency interactions or real-time engagement with your viewers, the “Low latency” stream type is ideal. This option reduces the delay between the stream and viewer interaction, making it great for live chats or Q&A sessions.
To choose the stream type, go to your YouTube Live dashboard and select “Stream settings.” From there, click on “Advanced settings” and choose the appropriate stream type.
Remember to configure your server and check for any configuration errors that may affect your stream. Ensure your privacy settings are properly set, and monitor any error messages or Request IDs that may pop up.
By selecting the right stream type based on your purpose, you can provide an optimal streaming experience for your audience and maximize the benefits of YouTube Live.
Adding title, description, and thumbnail image to livestream
Title: How to Add Title, Description, and Thumbnail Image to Your YouTube Live Stream
Description: Enhance your YouTube Live stream with a captivating title, description, and thumbnail image. Make your content more discoverable and attract a larger audience with these simple steps.
Thumbnail Image: Capture attention with a visually appealing thumbnail image that represents your livestream. Choose a compelling image that accurately represents your content and entices viewers to click.
To add a title, description, and thumbnail image to your YouTube Live stream:
1. Access your YouTube Studio and select the “Live” tab.
2. Choose your livestream from the list or create a new one.
3. Click on the “Edit” button next to the title to enter a catchy title for your stream.
4. Craft a concise and informative description that accurately describes your livestream’s content.
5. To add a thumbnail image, click on the “Custom thumbnail” option and upload an eye-catching image from your computer.
Remember, titles, descriptions, and thumbnail images play a crucial role in attracting viewers and improving your livestream’s visibility. Invest some time in optimizing these elements to maximize your audience reach.
[Thumbnail image: A captivating image representing a livestream with a play button overlay and engaging visuals.]
Starting a livestream on YouTube
To start a livestream on YouTube, follow these simple steps:
1. Sign in to your YouTube account and click on the camera icon in the upper-right corner.
2. Select “Go live” from the drop-down menu.
3. Choose whether you want to stream from your computer or mobile device.
4. Set up your livestream details, including the title, description, privacy setting, and audience limitation.
5. Configure your stream settings, such as the camera and microphone you want to use.
6. If you’re streaming from a computer, you can use OBS (Open Broadcaster Software) to enhance your livestream.
7. Once you’re ready, click on the “Go live” button to start streaming.
8. Throughout your livestream, you can engage with your audience by reading and responding to comments.
Different methods to livestream on YouTube (mobile, computer, encoder)
-
Mobile livestreaming on YouTube:
- Open the YouTube app on your mobile device.
- Tap on the camera icon located at the top of the screen.
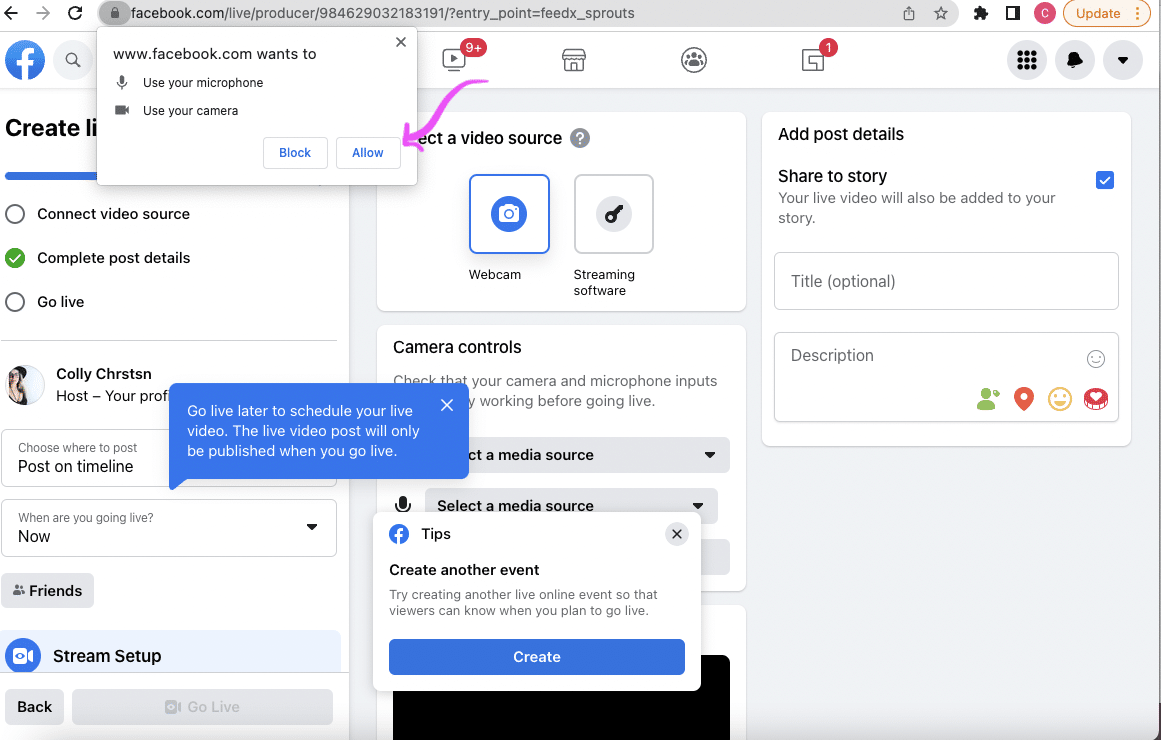
- Select “Go Live” from the options provided.
- Grant necessary permissions to access the camera and microphone.
- Fill in the title and description for your livestream.
- Choose the privacy settings for your livestream (public, unlisted, or private).
- Tap on the “More options” button to adjust additional settings if desired.
- Tap on the red “Go Live” button to start streaming on YouTube.
-
Computer livestreaming on YouTube:
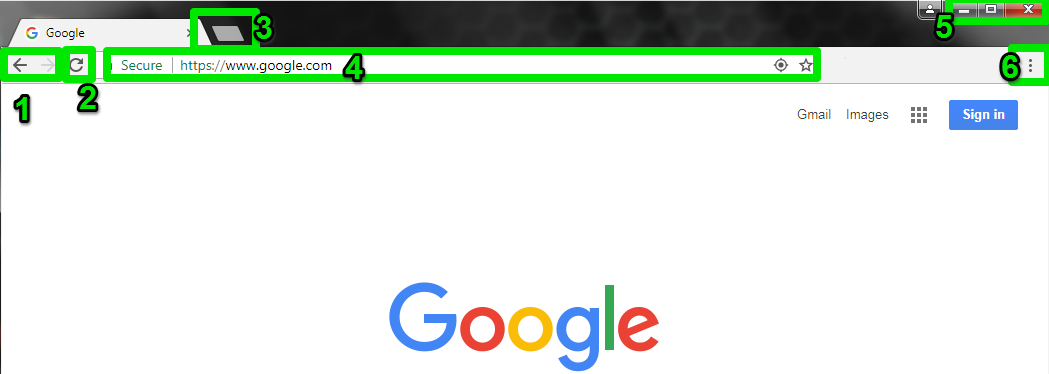
- Open a web browser on your computer and go to the YouTube website.
- Click on the camera icon located at the top-right corner of the screen.
- Select “Go Live” from the drop-down menu.
- Choose “Stream” to start a new livestream.
- Fill in the title and description for your livestream.
- Select the appropriate privacy settings for your livestream.
- Click on the “More options” button to adjust additional settings if desired.
- Click on the blue “Next” button to proceed.
- Choose your preferred streaming settings (resolution, frame rate, etc.).
- Click on the “Create stream” button to generate a stream key.
- Copy the stream key and configure your broadcasting software accordingly.
- Click on the “Go Live” button to start streaming on YouTube.
-
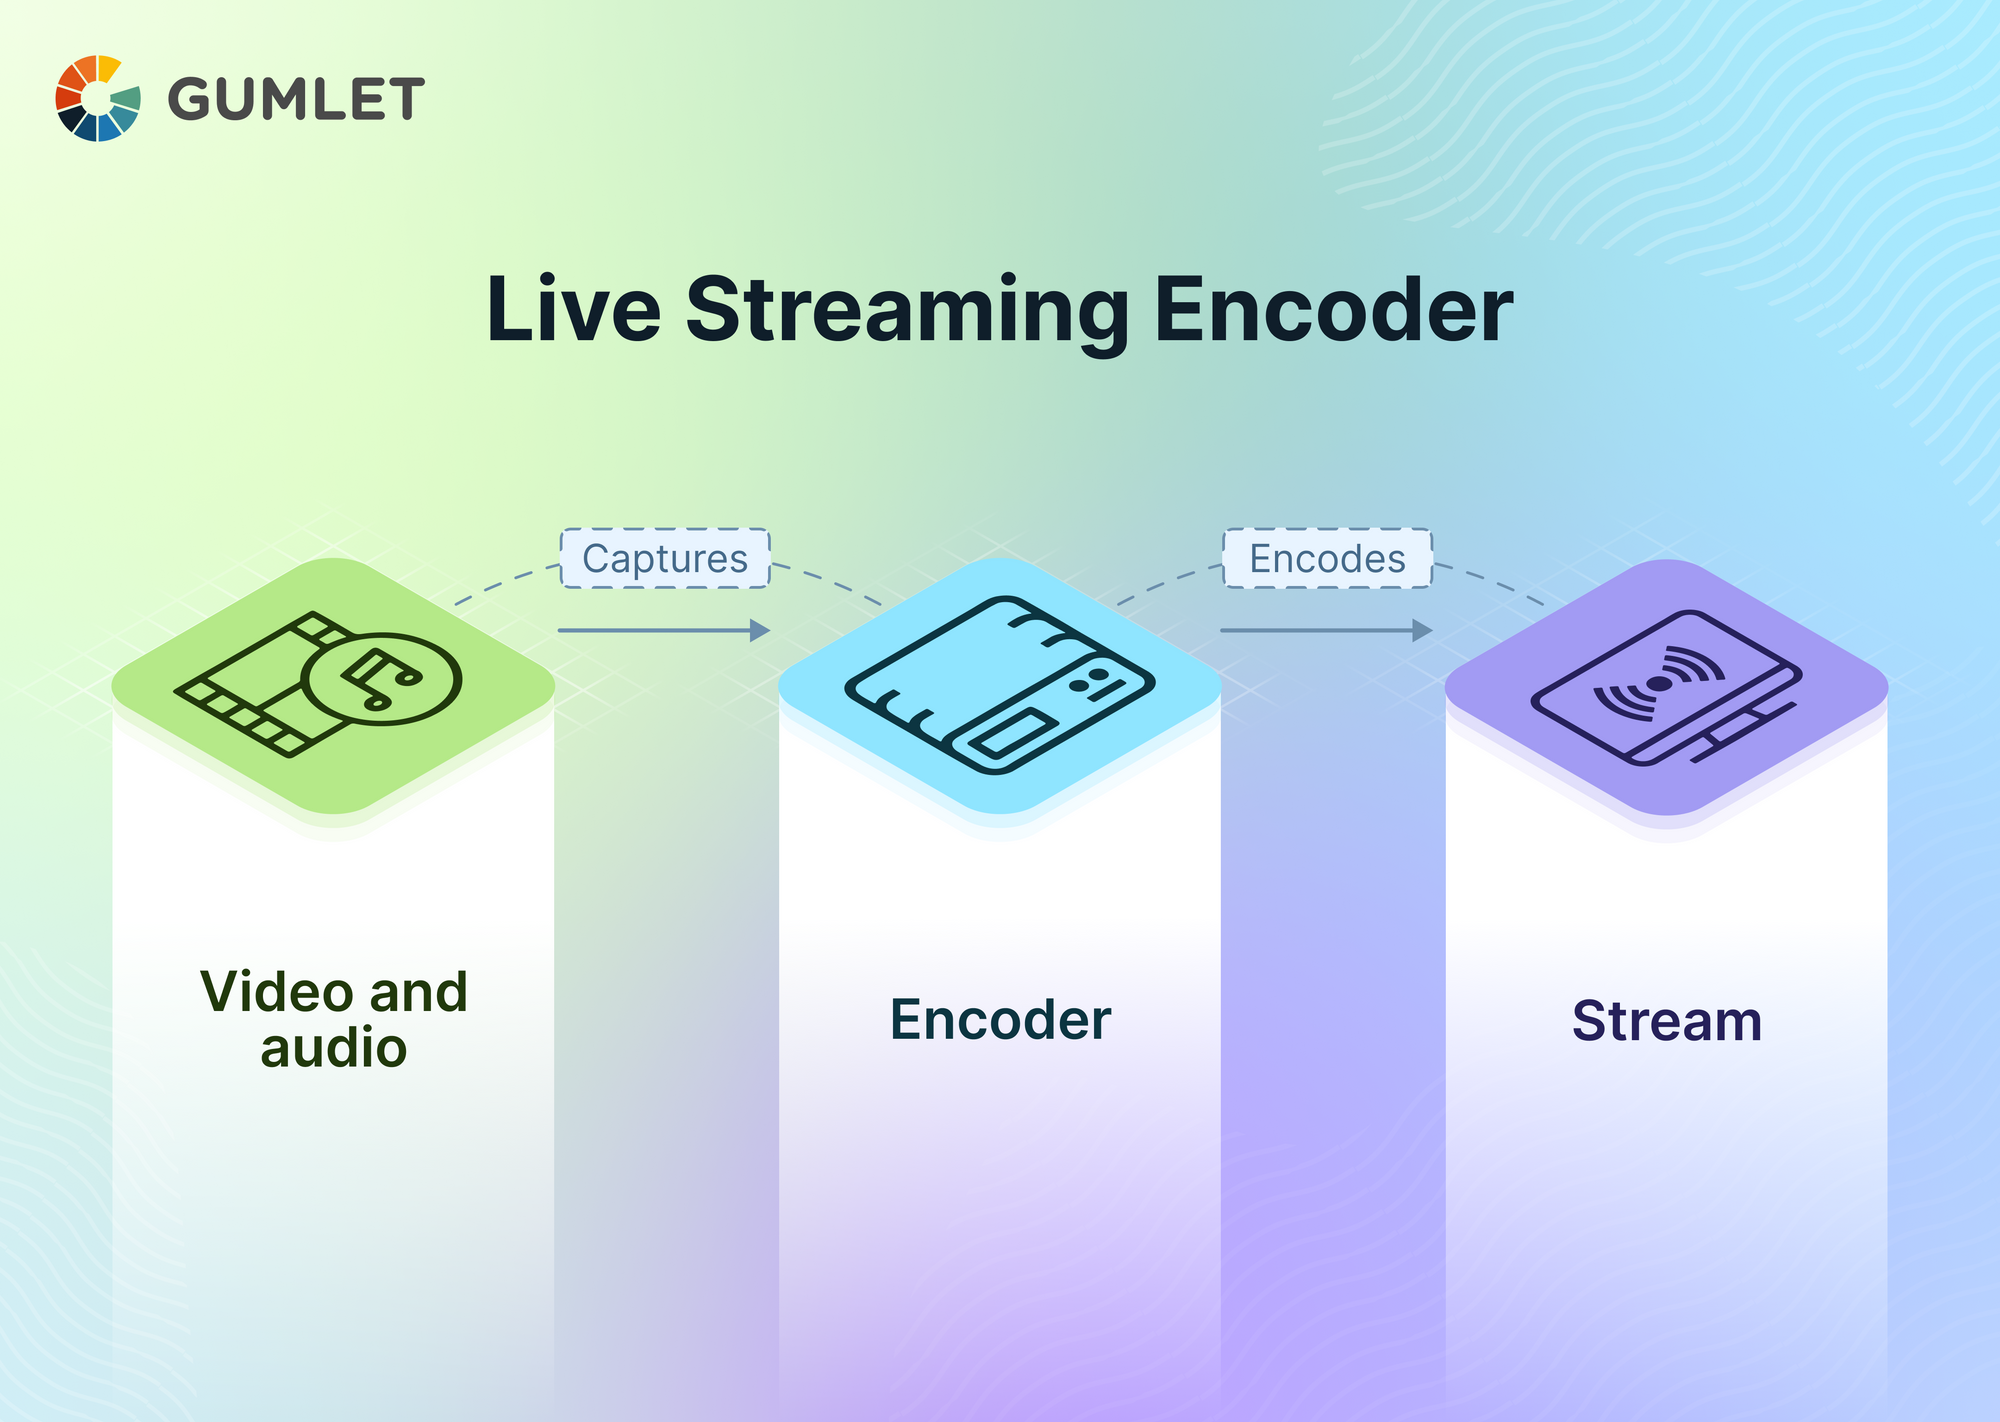
Encoder livestreaming on YouTube:
- Set up a streaming encoder software such as OBS, Streamlabs OBS, or XSplit.
- Open the encoder software and go to the settings or preferences menu.
- Locate the streaming settings and choose YouTube as the streaming platform.
- Enter your YouTube stream key into the designated field.
- Adjust any other desired settings, such as resolution and bitrate.
- Save the settings and return to the main interface of the encoder software.
- Set up your audio and video sources for the livestream.
- Ensure that your internet connection is stable and capable of supporting the stream.
- Start the encoder software to begin capturing and encoding your stream.
- Once the stream is active, go to the YouTube website and follow the steps for computer livestreaming mentioned above.
Features of YouTube Live to utilize
- Setting up the stream
- Sign in to your YouTube account
- Click on your profile picture in the top right corner
- Select “YouTube Studio”
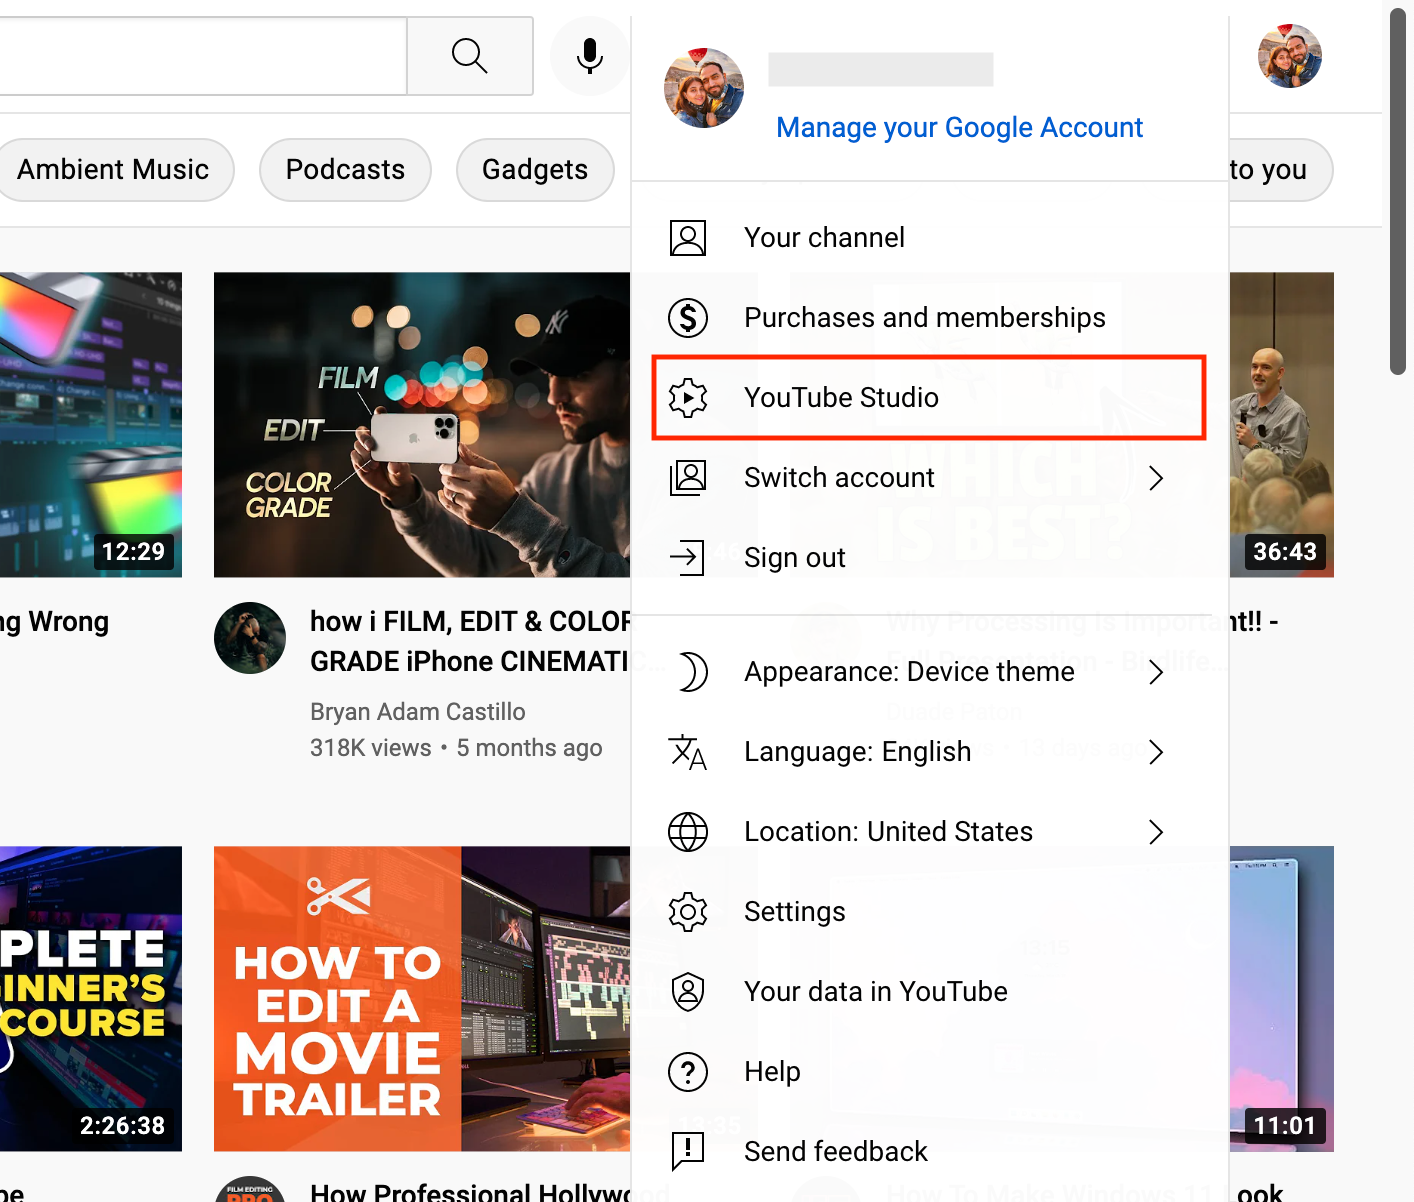
- In the left menu, click on “Videos”
- Click the “Go Live” button
- Choose “Stream” from the left menu
- Fill in the details for your stream (title, description, privacy settings)
- Click “Create Stream”
- Configuring stream settings
- Click on the “Stream” tab
- Choose your stream type (Normal, Low latency, Ultra low latency)
- Select the appropriate category for your stream
- Set your stream’s latency mode
- Enable or disable chat for your stream
- Choose whether to enable DVR (Digital Video Recording) for your stream
- Click “Save” to apply the settings
- Setting up stream options
- Click on the “Stream Options” tab
- Choose your preferred encoder software or hardware
- Set your desired resolution and frame rate
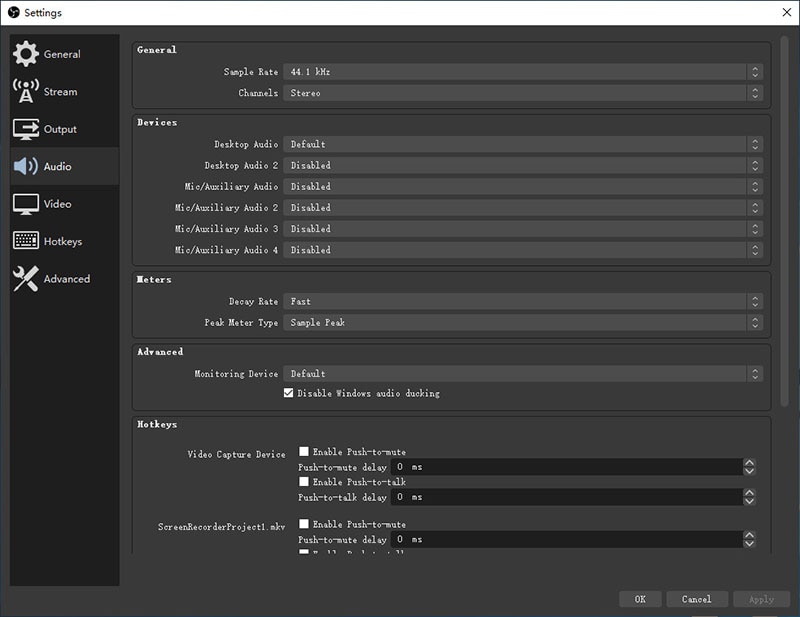
- Configure your audio settings (bitrate, sample rate, etc.)
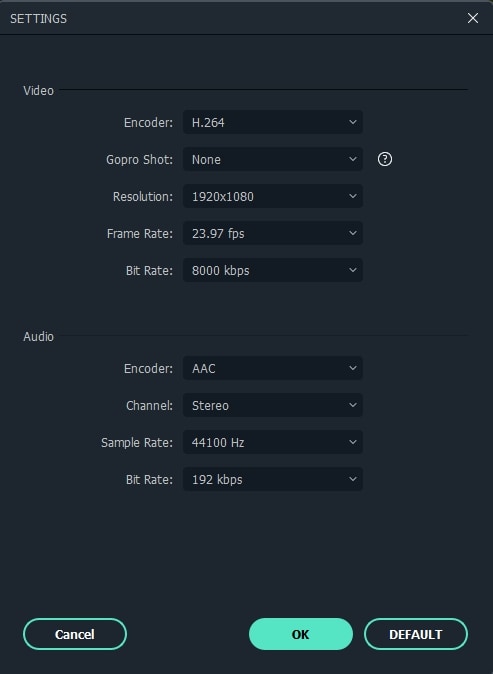
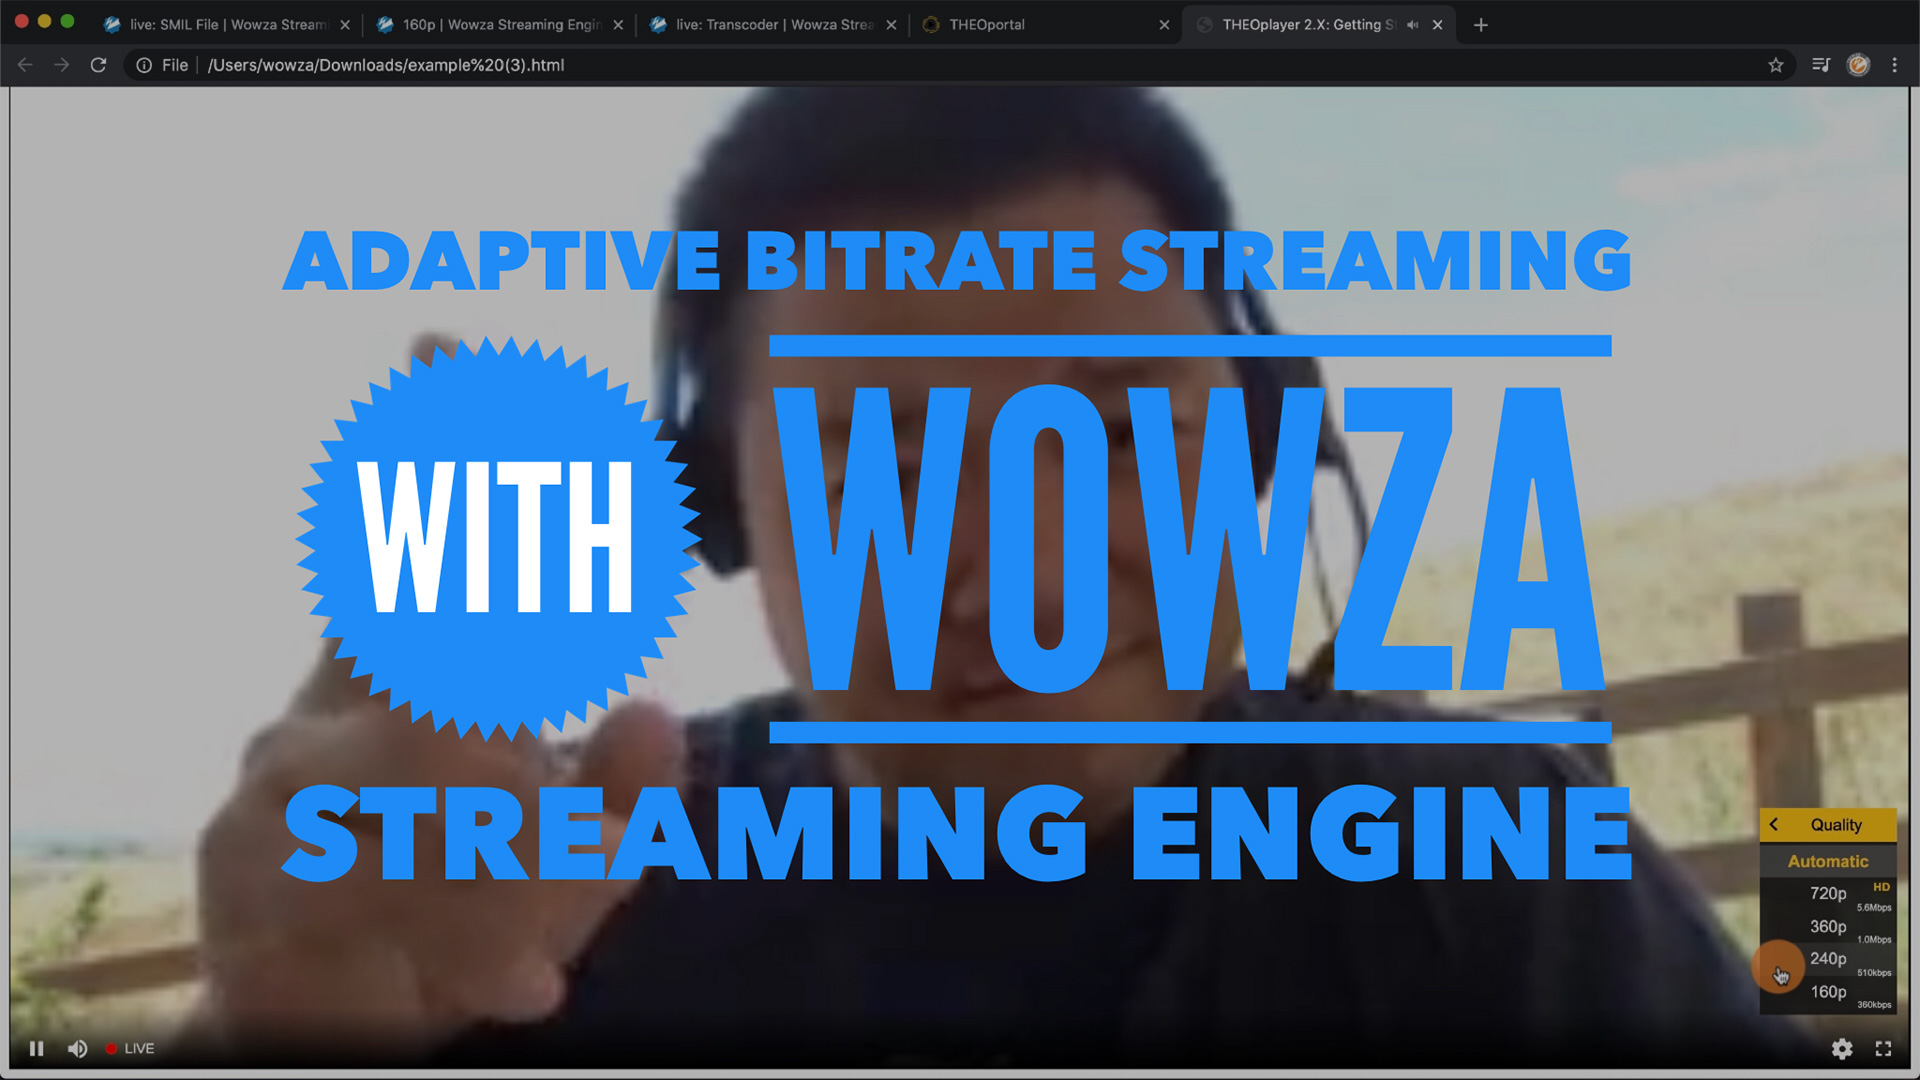
- Enable or disable stream optimizations (adaptive bitrate, DVR pre-roll, etc.)
- Click “Save” to save the stream options
- Setting up stream monetization
- Click on the “Monetization” tab
- Enable monetization for your stream
- Set up ad breaks and mid-roll ads
- Configure Super Chat and Channel Memberships
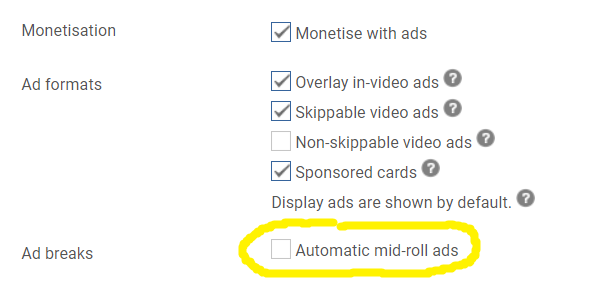
- Set your preferred monetization preferences
- Click “Save” to save the monetization settings
- Previewing and starting the stream
- Click on the “View on YouTube” button to preview your stream
- Review the stream preview and make any necessary adjustments
- When ready, click the “Start Streaming” button to begin your live stream
Generating ideas for YouTube Live
- Brainstorm different content ideas that align with your interests or expertise.
- Consider popular trends and topics on YouTube to gather inspiration.
- Research your target audience’s preferences and what they enjoy watching.
- Collaborate with other YouTubers or experts in your field for unique content ideas.
- Experiment with challenges, pranks, or social experiments to engage your audience.
- Create educational or tutorial-style content to share your knowledge and help viewers learn something new.
- Consider live events or performances to interact with your audience in real-time.
- Showcase behind-the-scenes footage or take viewers on a virtual tour.
- Share personal stories or experiences to connect with your audience on a deeper level.
- Respond to viewers’ questions or comments and create content based on their feedback.
Best practices and tips for successful livestreaming
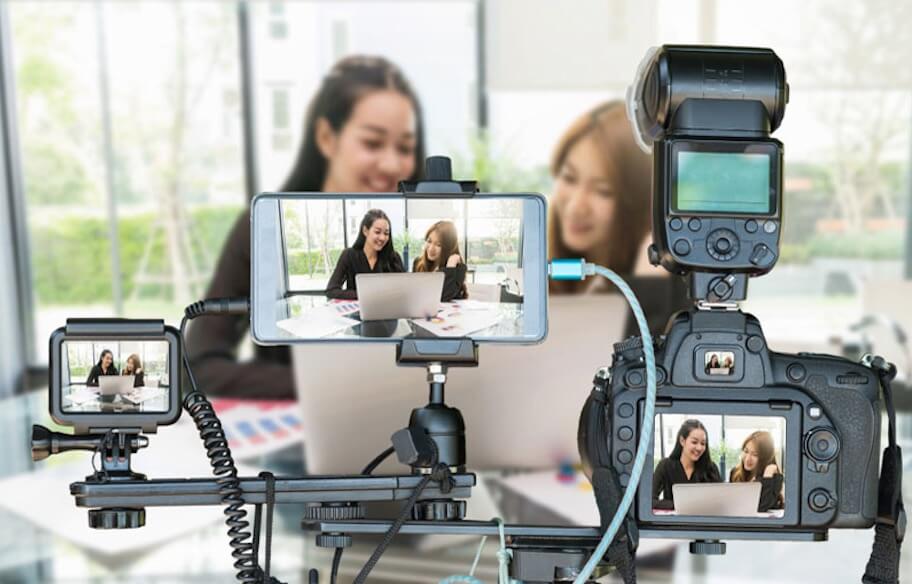
- Prepare your equipment: Ensure you have a reliable and fast internet connection, a high-quality camera, microphone, and proper lighting to enhance the streaming experience.
- Choose the right streaming software: Select a reliable streaming software or platform such as OBS Studio, Streamlabs OBS, or XSplit to handle the technical aspects of your livestream.
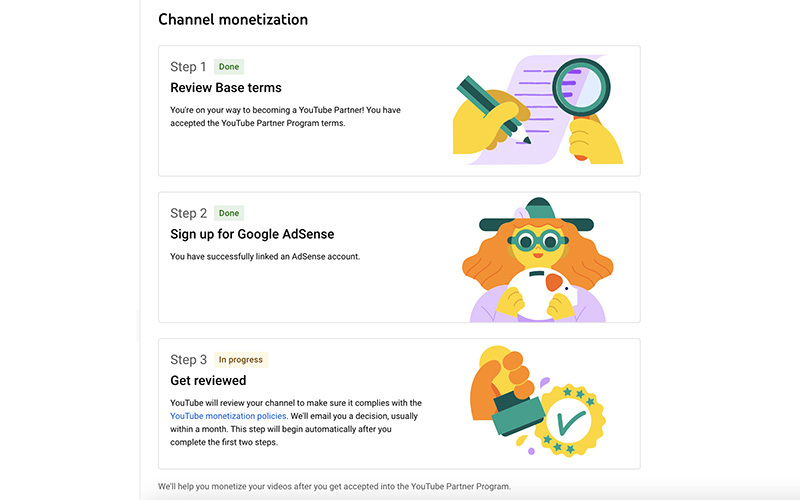
- Set up your streaming account: Create a YouTube account and enable live streaming features by verifying your channel.
- Plan and promote your livestream: Define a clear topic or theme for your livestream, create a compelling title and thumbnail, and promote it across your social media channels and email newsletters.
- Engage with your audience: Interact with your viewers by responding to comments, questions, and suggestions during the livestream. Encourage viewers to participate by including interactive elements like polls or Q&A sessions.
- Test your setup: Prior to going live, conduct a test stream to check your audio and video quality, ensure proper framing, and identify any technical issues that need to be addressed.
- Create a structured format: Plan the flow of your livestream by outlining key talking points, segments, or activities to keep the content engaging and organized.
- Promote viewer interaction: Encourage viewers to subscribe, like, and share your livestream to expand your reach. Consider offering incentives such as giveaways or exclusive content to incentivize engagement.
- Optimize your livestream: Use relevant keywords, tags, and a compelling video description to improve discoverability. Consider adding timestamps and a brief summary for viewers to navigate through the livestream easily.
- Monitor analytics and gather feedback: After your livestream, analyze the engagement metrics, viewer retention, and feedback to understand what worked well and areas for improvement in future streams.
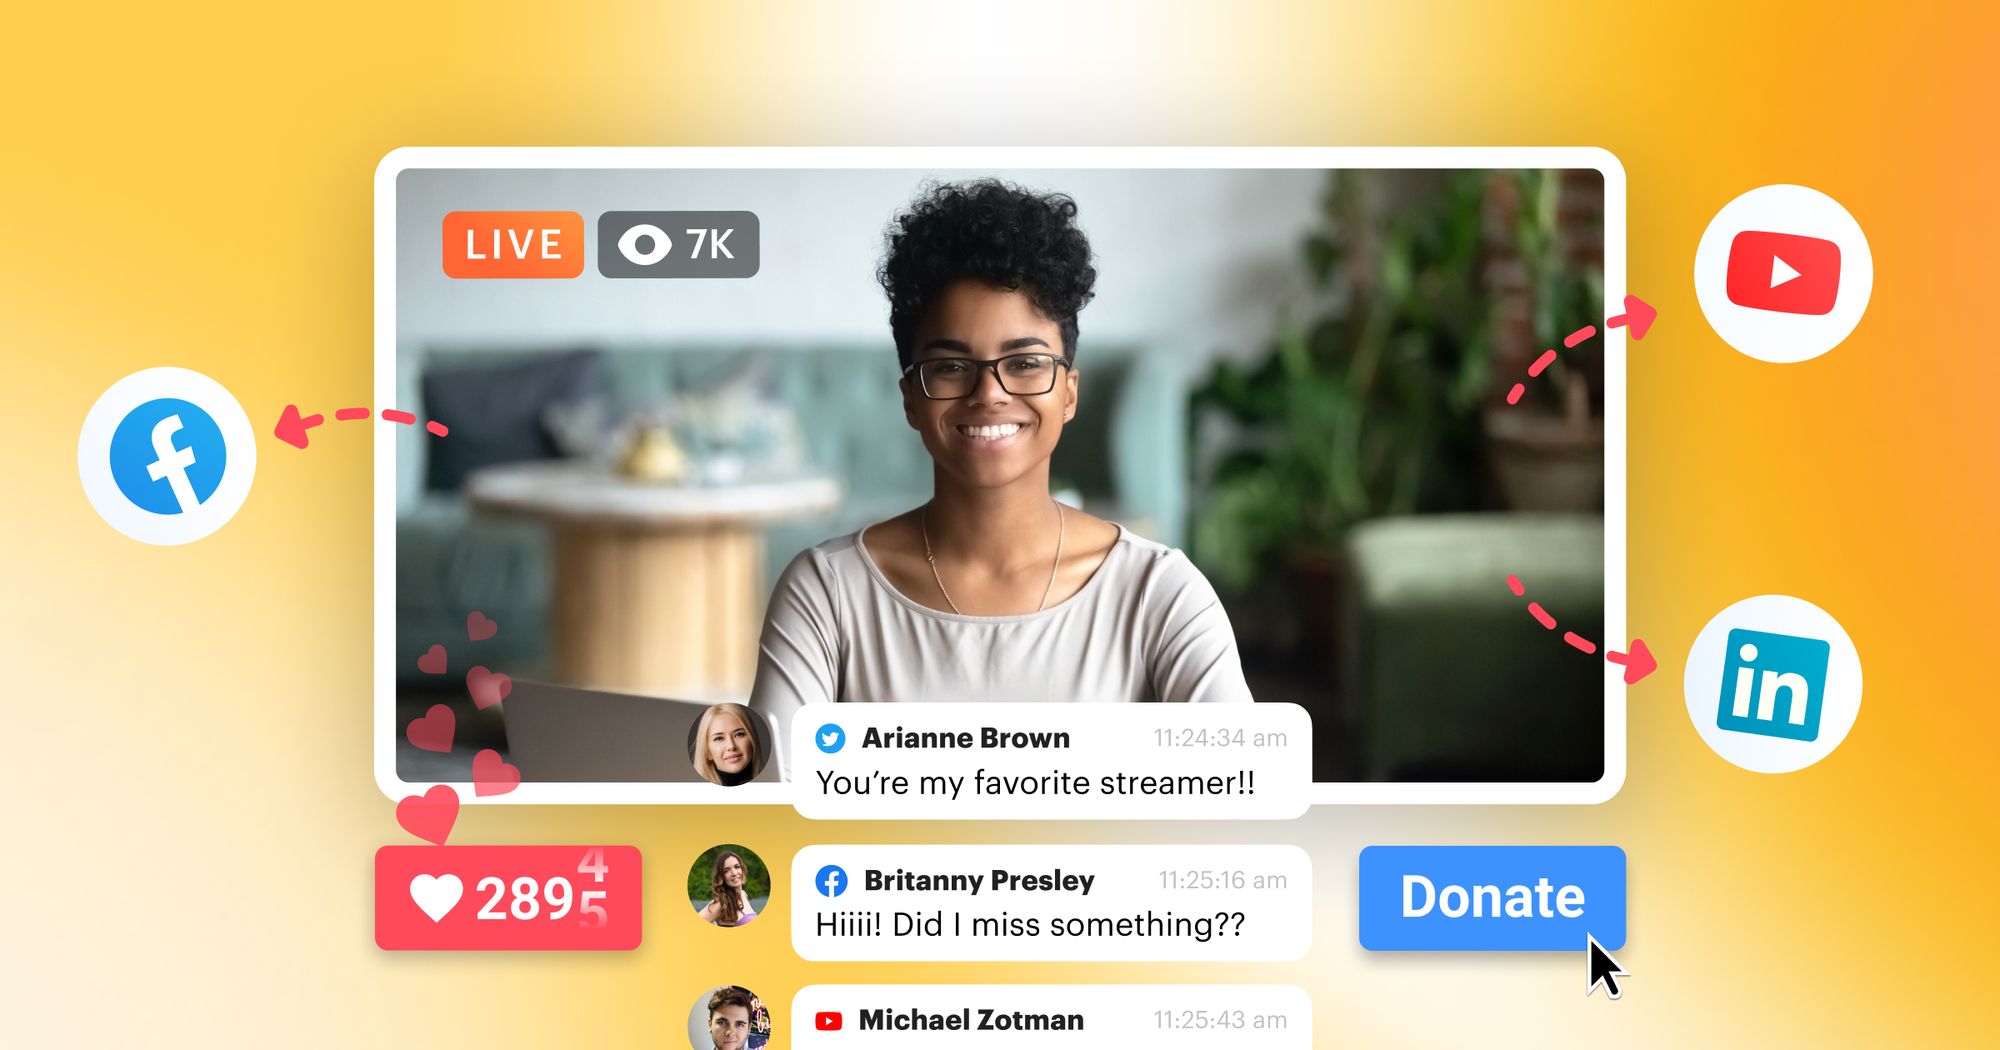
Streaming to other platforms with Restream
Restream is a useful tool that allows you to easily stream your content on multiple platforms simultaneously. With Restream, you can expand your reach and engage with a wider audience beyond just YouTube Live.
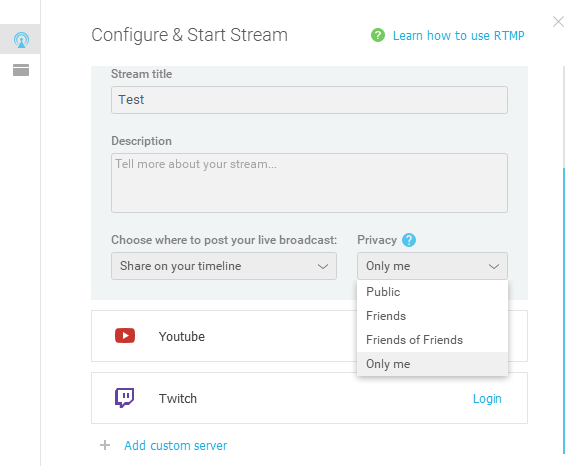
To get started, sign up for a Restream account and connect your YouTube Live channel. Once connected, Restream will provide you with a unique stream key. Copy this key and head over to your streaming software, such as OBS.
In OBS, go to Settings and navigate to the Stream tab. Select “Custom Streaming Server” from the dropdown menu and paste the stream key provided by Restream. Click “OK” to save your settings.
Now, whenever you go live on YouTube Live, Restream will automatically distribute your stream to other platforms like Twitch, Facebook Live, and more. This allows you to reach viewers on different platforms simultaneously, increasing your visibility and potential audience.
By leveraging Restream’s capabilities, you can maximize your streaming efforts and connect with a broader audience across various platforms. So go ahead, start streaming, and watch your community grow!