
Summary
- Ensure ink cartridges are properly installed and not empty.
- Check for paper jams or obstructions in the paper tray.
- Clean the printer nozzle and head to improve print quality.
- Update printer drivers and reinstall printer software if necessary.
Are you experiencing issues with your Epson Stylus Photo 1400 printer? This troubleshooting and repair guide will help you identify and fix common problems with this printer model.
Troubleshooting Printer Issues
If your Epson Stylus Photo 1400 printer is experiencing issues, there are a few troubleshooting steps you can take to try and resolve the problem. First, check the ink cartridge to make sure it is properly installed and not empty. Open the printer and remove the ink cartridge, then reinsert it to ensure it is properly seated. If the cartridge is empty, replace it with a new one.
Next, check the paper tray to make sure there are no jams or obstructions. Remove any paper that may be stuck and make sure the paper is loaded correctly. Additionally, check the nozzle of the printer for any dust or debris that may be causing printing issues. Use a soft, lint-free cloth to gently clean the nozzle.
If the printer is connected to a computer, check the USB connection to make sure it is secure. Unplug the USB cable and then reconnect it to ensure a proper connection. If you are attempting to print from a digital camera or other device, make sure the connection is secure and the device is compatible with the printer.
If you are experiencing issues with print quality, such as distortion or streaks, it may be due to a clogged nozzle. Run a printer cleaning cycle to clear any clogs in the nozzle. If the print quality does not improve, you may need to replace the ink cartridge or perform a deeper cleaning of the printer.
Diagnosing Color Calibration Errors
If the color calibration errors persist, it may be necessary to perform a manual color calibration. This involves adjusting the color settings using a calibration tool or software. Use a color calibration tool or software to make adjustments to the printer’s color settings until the desired calibration is achieved.
Another common cause of color calibration errors is outdated or faulty printer drivers. Check for updates to the printer drivers and install any available updates. This can often resolve color calibration issues and improve overall printer performance.
Dust and debris on the printer’s print head or nozzles can also cause color calibration errors. Clean the print head and nozzles according to the manufacturer’s instructions to remove any dust or debris. This can help to improve color accuracy and prevent calibration errors.
In some cases, color calibration errors may be caused by a malfunctioning or empty ink cartridge. Check the ink levels and replace any empty or faulty cartridges. This can resolve color calibration issues and improve the quality of your prints.
If you are still experiencing color calibration errors after following these troubleshooting steps, it may be necessary to contact Epson customer support for further assistance. They can provide additional guidance and support for diagnosing and resolving color calibration issues with your Epson Stylus Photo 1400 printer.
Updating Printer Drivers
To update the printer drivers for your Epson Stylus Photo 1400, you can follow these simple steps. First, go to the Epson website and navigate to the Support page. Look for the Downloads section and locate the drivers for your specific printer model.
Once you have found the correct drivers, download them to your computer. After the download is complete, locate the file and double-click to begin the installation process. Follow the on-screen instructions to successfully update the drivers for your printer.
If you encounter any issues during the installation process, make sure to check for any error messages and troubleshoot accordingly. You can also reach out to Epson customer support for assistance.
It’s important to keep your printer drivers up to date to ensure optimal performance and compatibility with your computer’s operating system. By following these steps, you can easily update the drivers for your Epson Stylus Photo 1400 printer.
In addition to updating the drivers, it’s also a good idea to regularly clean and maintain your printer to prevent any potential issues. This includes cleaning the print head, checking for any paper jams, and replacing any empty ink cartridges.
By staying proactive with your printer maintenance, you can minimize the need for troubleshooting and repairs in the future. If you do encounter any ongoing issues with your printer, don’t hesitate to seek professional assistance or refer to the Epson Stylus Photo 1400 Printer Troubleshooting and Repair Guide for further guidance.
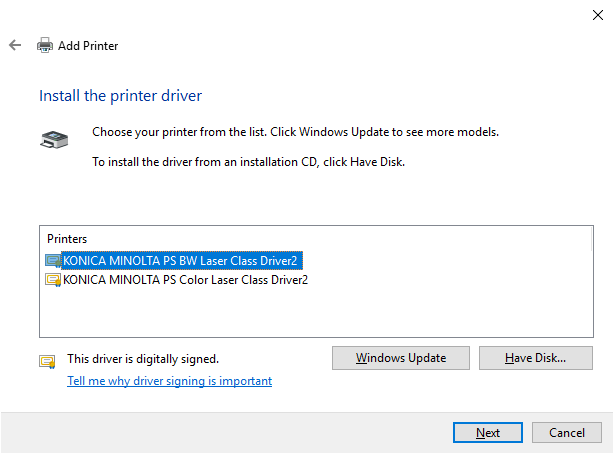
Reinstalling Printer Software
To reinstall the printer software for your Epson Stylus Photo 1400, follow these steps. First, uninstall the current printer software from your computer. Go to the Control Panel and select “Programs and Features” or “Add/Remove Programs.” Find the Epson Stylus Photo 1400 software and select “Uninstall.”
Once the software is uninstalled, restart your computer. Then, download the latest version of the printer software from the Epson website. Make sure to select the correct operating system for your computer.
After the download is complete, run the software installation program. Follow the on-screen instructions to install the software. Connect the printer to your computer when prompted.
After the installation is complete, restart your computer. Test the printer by printing a document or photo to ensure that the software was installed correctly.
If you continue to experience issues with your Epson Stylus Photo 1400 printer, consider reaching out to Epson customer support for further assistance. They may be able to provide additional troubleshooting steps or recommend service options for your printer.