
Summary
- Update network drivers to resolve IPv4 only errors
- Manually reset Winsock and network settings if needed
- Check and disable IPv6 if necessary
- Ensure DNS and IP settings are set to automatic, renew IP address, and restart network equipment if facing connectivity issues
In this article, I will discuss common connectivity issues and boot problems related to IPv4 only errors.
Update Network Drivers
If you are experiencing connectivity issues and boot problems due to an IPv4 only error, one possible solution is to update your network drivers.
Updating your network drivers can help resolve issues related to connectivity and booting. This process involves ensuring that your network interface controller has the latest software to properly communicate with your computer network.
To update your network drivers in Windows 10, you can navigate to the Device Manager through the Control Panel. Locate your network adapter under the Network adapters section, right-click on it, and select Update driver.
Alternatively, you can update your network drivers by downloading the latest version from the manufacturer’s website. Make sure to choose the correct driver for your specific network adapter model and Windows version.
After updating your network drivers, restart your computer to apply the changes. This should help resolve any IPv4 only error-related connectivity issues and boot problems you may be experiencing.
In addition to updating your network drivers, it’s also important to keep your operating system up to date with the latest Windows updates and ensure that your antivirus software is not causing any conflicts with your network connections.
Manually Reset Winsock and Network Settings
Step 1: Press the Windows key + R to open the Run dialog box.
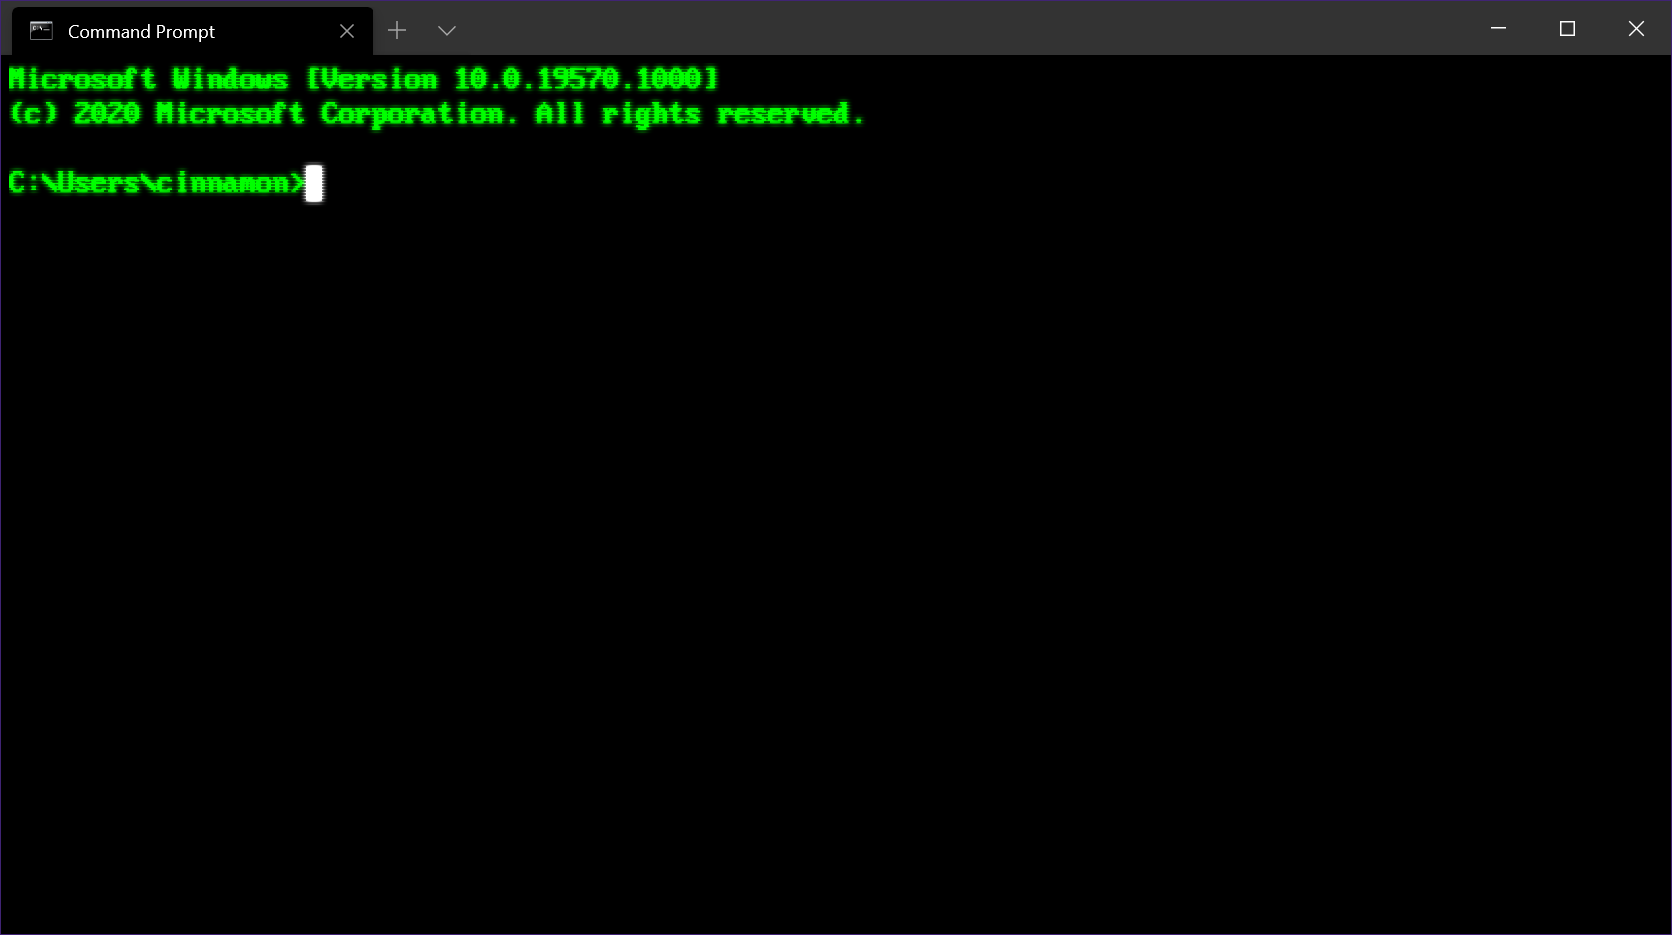
Step 2: Type “cmd” and press Enter to open the Command Prompt.
Step 3: In the Command Prompt window, type “netsh winsock reset” and press Enter to reset Winsock.
Step 4: Next, type “netsh int ip reset” and press Enter to reset the Internet Protocol settings.
Step 5: Restart your computer to apply the changes and check if the issue is resolved.
If you are still experiencing connectivity problems, you may need to troubleshoot further or seek professional help. It is also a good idea to ensure that your antivirus software or firewall is not blocking your internet connection.
Check and Disable IPv6 if Necessary
- Open Control Panel by searching for it in the Windows search bar.
- Click on Network and Internet and then Network and Sharing Center.
- Click on Change adapter settings on the left side of the window.
- Right-click on your network connection and select Properties.
- Uncheck the box next to Internet Protocol Version 6 (TCP/IPv6) to disable IPv6.
- Click OK to save the changes and test your connectivity.
Ensure DNS and IP Settings are Automatic

To resolve IPv4 only errors causing connectivity issues and boot problems, it is crucial to ensure that your DNS and IP settings are set to automatic. This can help streamline the connection process and prevent any conflicts that may arise.
Check DNS and IP Settings: Go to your Control Panel and navigate to Network and Sharing Center. Click on Change adapter settings and then right-click on your network connection. Select Properties and then double-click on Internet Protocol Version 4 (TCP/IPv4). Ensure that both the IP address and DNS server address are set to obtain automatically.
Reset DNS Cache: Open Command Prompt as an administrator and type in “ipconfig /flushdns” to clear the DNS resolver cache. This can help refresh your network settings and resolve any lingering issues.
Update Network Drivers: Make sure your network adapter drivers are up to date by going to Device Manager. Right-click on your network adapter and select Update driver. This can help ensure that your network connection is working properly.
In some cases, a simple reset of your network settings can resolve connectivity issues. To do this, open Command Prompt as an administrator and type in “netsh int ip reset” followed by “netsh winsock reset”. Restart your computer after running these commands to apply the changes.
Renew IP Address and Restart Network Equipment
To fix IPv4 only error and connectivity issues, one of the first steps you can take is to renew your IP address. This can help refresh your network connection and resolve any conflicts that may be causing the problem.
Another helpful step is to restart your network equipment such as your router or modem. Sometimes, simply power cycling these devices can clear up any issues that may be affecting your connectivity.
If you are using a Windows 10 computer, you can easily renew your IP address by opening the Command Prompt as an administrator and entering the command “ipconfig /renew”. This will release and renew your IP address, potentially resolving any connectivity problems you are experiencing.
To restart your network equipment, simply unplug the power cords from your router and modem, wait a few seconds, and then plug them back in. This can help reset your network connection and clear up any issues that may be causing your connectivity problems.
Check Antivirus and Disable Temporarily
If disabling the antivirus resolves the problem, you may need to adjust the settings or whitelist certain programs to prevent future conflicts. Keep in mind that while your antivirus is disabled, your computer may be more vulnerable to threats, so be cautious while browsing the internet or downloading files.
After disabling the antivirus, attempt to connect to the internet or boot your computer again to see if the issue has been resolved. If the problem persists even with the antivirus disabled, you may need to explore other troubleshooting steps to fix the IPv4 connectivity error or boot problem.
Contact Your ISP for Further Assistance
It is important to communicate the steps you have already taken to your ISP, such as resetting your network settings, checking for updates, and verifying your network adapter settings. This will help them narrow down the possible causes of the problem and provide a more efficient solution.
Your ISP may also suggest additional troubleshooting steps or schedule a technician to visit your location for further assistance. Remember, they are experts in handling network-related issues and can offer valuable insights to resolve the IPv4 Only error you are facing.
Don’t hesitate to reach out to your Internet Service Provider for help in resolving connectivity issues and boot problems. They are equipped with the knowledge and resources to assist you in getting your network back up and running smoothly.
Frequently Asked Questions
How do I fix IPv4 not detected?
To fix IPv4 not detected, you can try disabling and re-enabling the IPv4 protocol in your network settings.
What does IPv4 only mean?
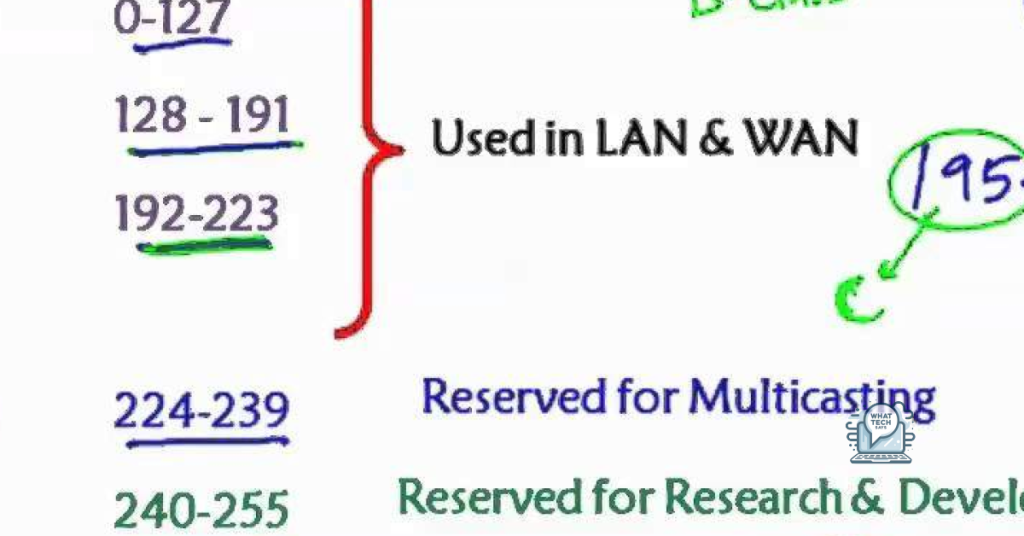
IPv4 only means that a device is using Internet Protocol version 4 to connect to the web.
What is IPv4 connection error?
IPv4 connection error can occur when your network settings are not configured correctly. Make sure your device is connected to the right network and that your network connection is functioning properly.
What is the IPv4 problem?
The IPv4 problem is the depletion of available IPv4 addresses for connected devices, leading to the need for solutions like Carrier-grade NAT (CGNAT) and IPv6 migration.